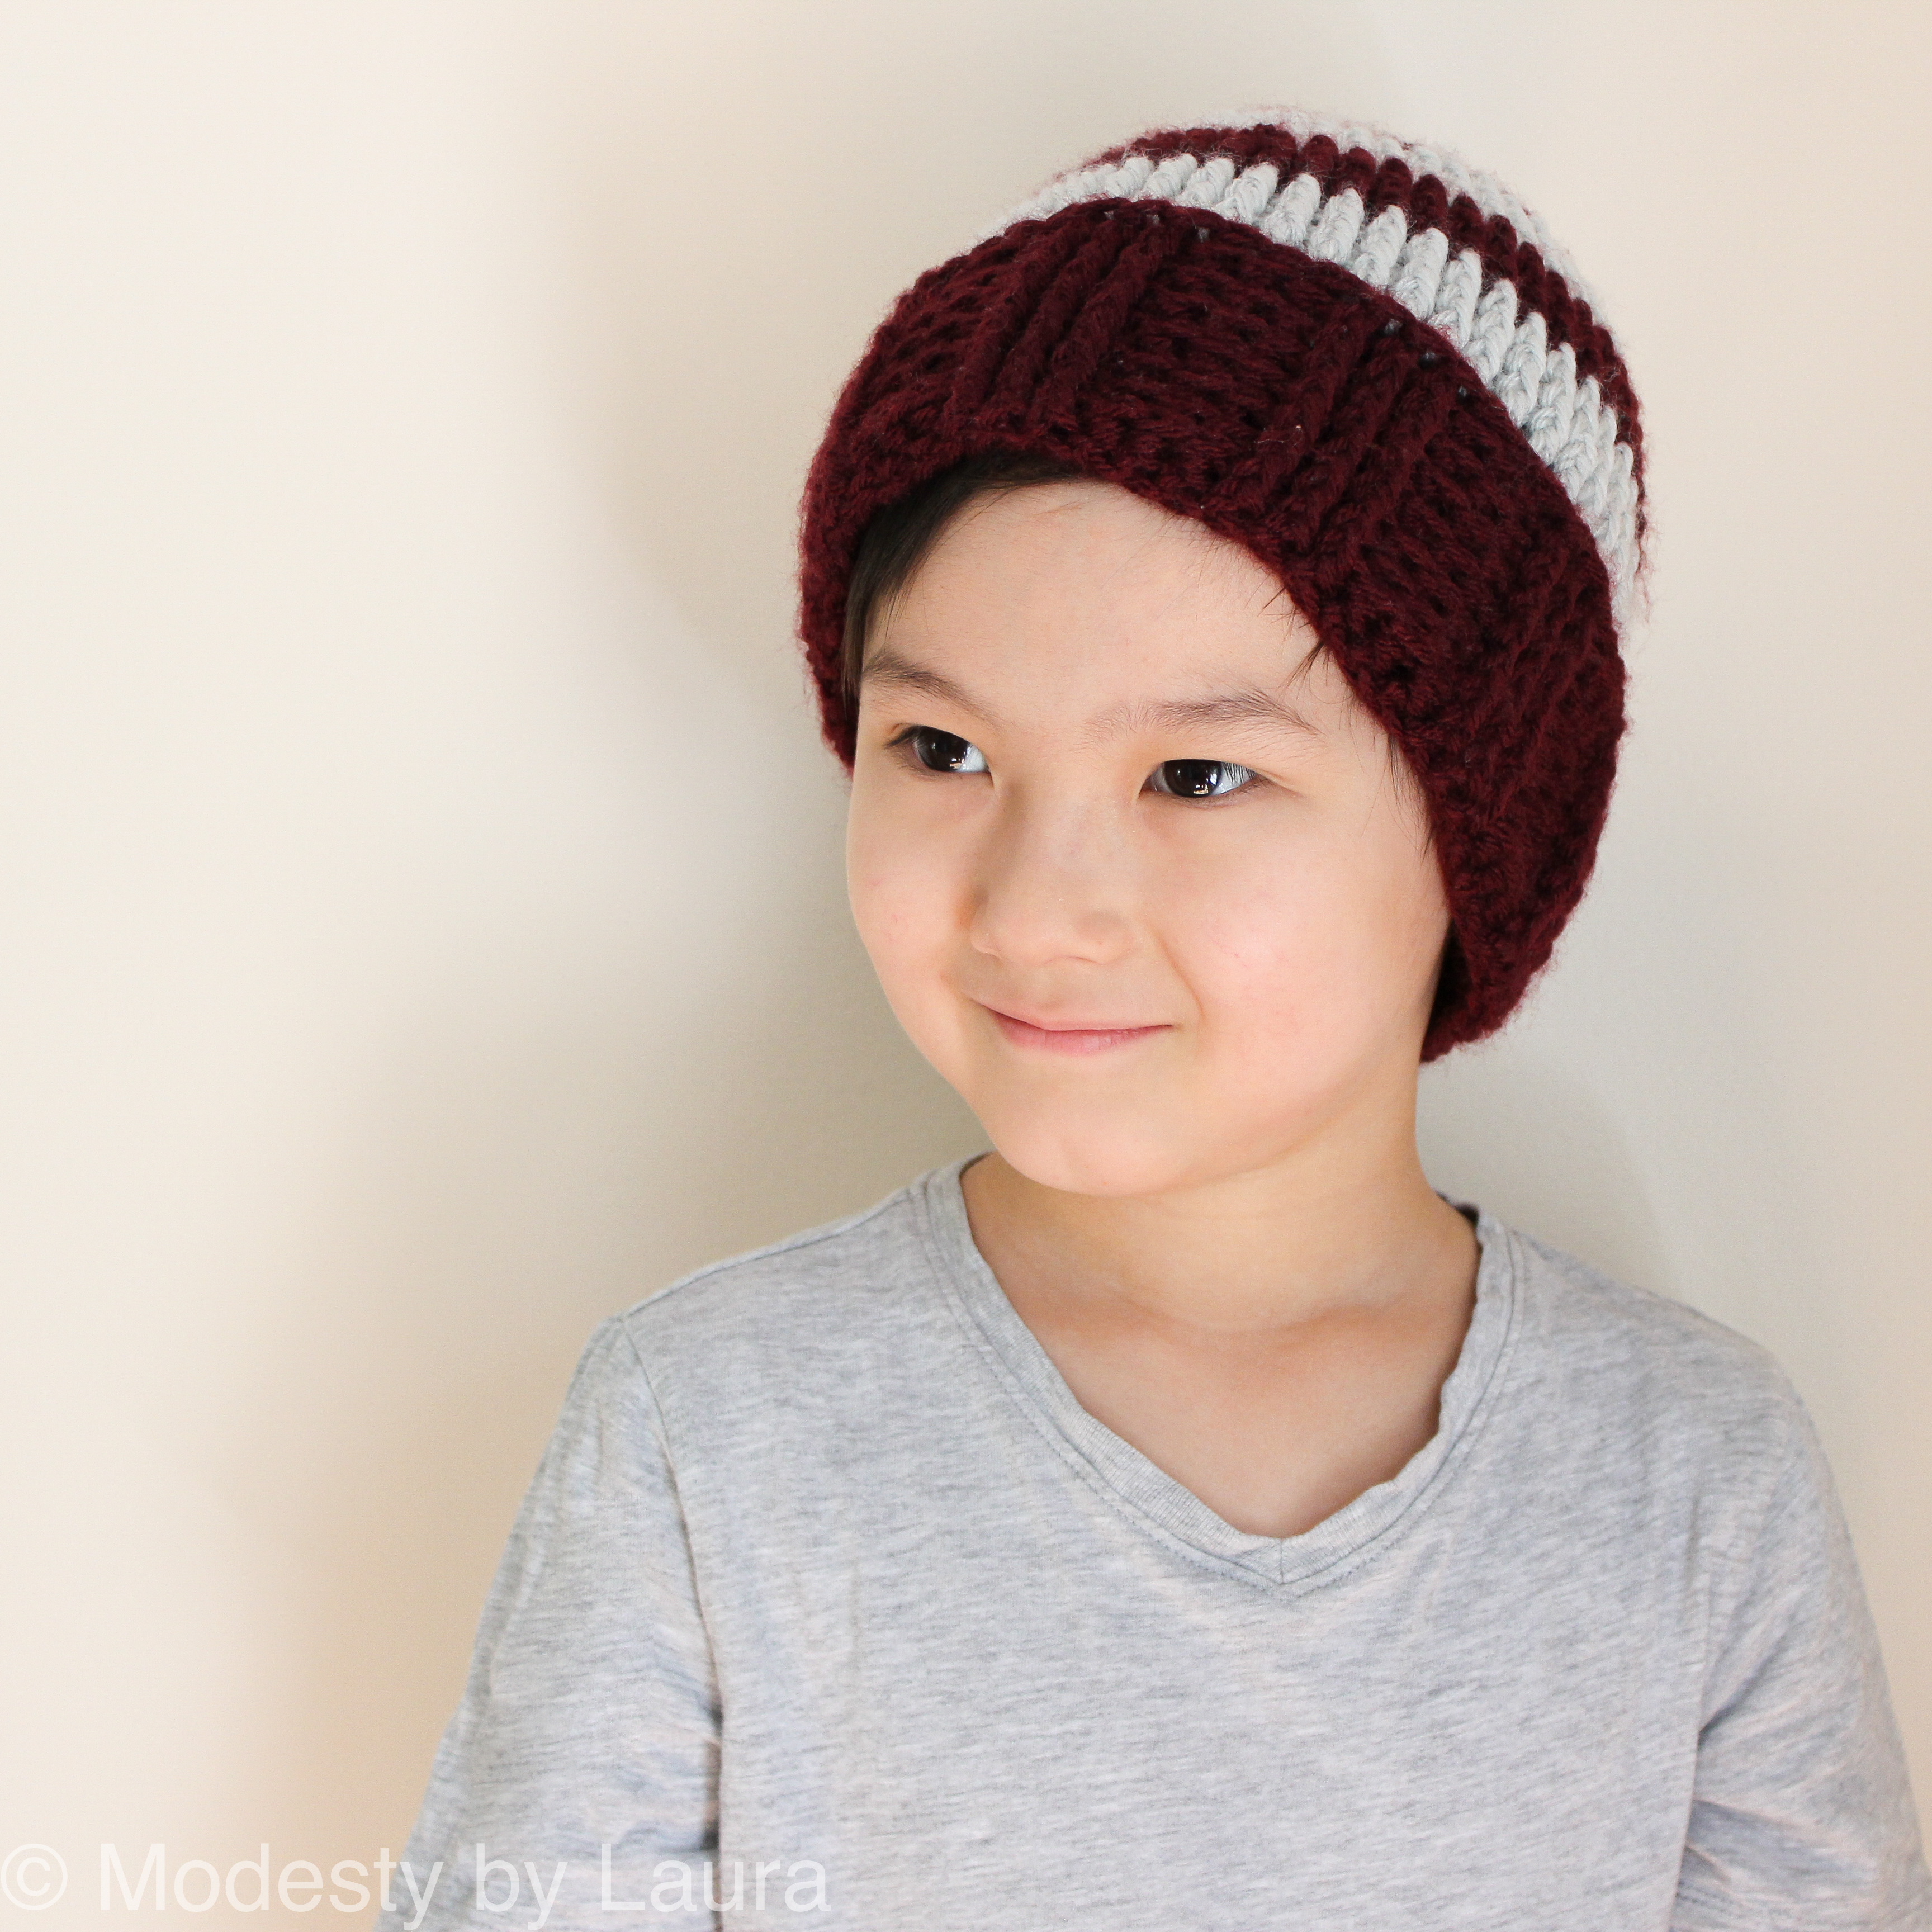
Holly Earmuffs Free Crochet Pattern
Shop Modesty by Laura
Design Story
The Pattern
Materials
Materials
-Lion Brand Go For Faux Thick and Quick and Vanna’s Choice
-6.0mm and 10.0mm crochet hook
-tapestry needle
Abbreviations
ch-chain
chsp-chain space
dc-double crochet
puff st-*yarn over, insert in chsp, yo and pull up a loop; repeat from * 2 more times, yo and pull through 6 sts on your hook, yo and pull through last 2 loops
sc-single crochet
slst-slip stitch
sts-stitches
yo-yarn over
Gauge
Worsted weight: 4 sts and 2.5 rows equal an inch
Yardage
Go For Faux Thick and Quick: 13-15 yards
Vanna’s Choice: 60-70 yards
Measurements
Earpiece- 4inch diameter
Headpiece and bottom straps measurements will vary upon preferred lengths.
Notes
-Headpiece and bottom straps are adjustable to your desired lengths.
-When bottom straps are tied, the headpiece will stretch a bit, so take into consideration when crocheting the length of the headpiece.
Earpiece (Make 2)
With your 10.0mm hook and Go For Faux yarn, make a magic circle and chain 3. Make 11 triple crochets into the circle. Slip stitch into the 2nd ch of the beginning chain 3. Fasten off. Close the circle by pulling the beginning yarn and weave in the ends.
Headpiece
With 6.0mm hook and worsted weight yarn, slip stitch 6 times into the top of one earpiece with worsted weight yarn.
Row 1: ch1, sc across
Row 2: ch2 (counts as a st), *skip a st and dc in the next st, dc into the skipped st; repeat from * one more time, dc in the last st (6)
Repeat rows 1 and 2 to desired length to reach the opposite inner earpiece. (Take into consideration that when worn, the headpiece will stretch slightly when the earmuff is tied under the chin.) Slip stitch the strap to the opposite earmuff. Fasten off and weave in the ends.
Bottom Straps
Take an earpiece and slip stitch 6 times with worsted weight yarn directly opposite from the headpiece.
Row 1: ch1, sc across
Row 2: ch2 (counts as a st), *skip a st and dc in the next st, dc into the skipped st; repeat from * one more time, dc in the last st (6)
Repeat rows 1 and 2 to desired length.
Repeat this on the opposite side. Crochet straps long enough to tie a ribbon under the chin.
*MOTIF (Make 2)
With your 6.0mm hook and worsted weight yarn, make a magic circle and chain 3 (counts as a double crochet and a chain 1).
Round 1: *dc, ch1; repeat for a total of 10 times, slst into the 2nd ch of the beginning ch3 (11dc, 11 chsps)
Round 2: slst into the first chsp, ch5 (counts as a dc and ch2), *dc in the next chsp, ch2; repeat from * to
the end of the round; slst into the 3rd ch of the beginning ch5
Round 3: ch3, *puff st in the next ch2 sp, ch3, slst in the next dc**, ch3; repeat from * to the end ending repeat at **
Fasten off and cut off a 40 inch tail for sewing.
Take the motifs and sew them onto the earpieces following the outline of the motif. Don’t be afraid of the opposite side. The faux yarn can be fluffed to cover the worsted weight yarn.
END REMARKS
The Acorn Cardigan Knit Pattern
Shop Modesty by Laura
The Pattern
Design Story
Ending Remarks
Cheese in the Trap Cardi Knit Pattern
Shop Modesty by Laura
The Pattern
Design Story
Ending Remarks
The Monarch Beanie Crochet Pattern
Shop Modesty by Laura
The Pattern


Design Story
End Remarks
Materials Needed for This Pattern
-1 (or 2) skein of Lion Brand Basic Stitch
-6.5mm crochet hook
-stitch marker
-tapestry needle
One Skein Scarf
Two Skein Scarf
Gauge
10 sts and 12 rows equals 2 inches
Measurements
1 skein- 60” long, 4.5” wide
2 skein- 75” long, 6.5” wide
This post may contain affiliate links. I am paid a small commission if you make a purchase through the links on my site. Thank you for supporting my blog in this way.
Not too long ago I had the pleasure of testing for the amazing Laura from The Cozy Chipmunk. She is a sweet friend of mine and one of the very first designers I met in my maker journey. She designs more Amigurumi patterns but has recently ventured into making wearable items!
The pattern I tested was the Aisling Scarf. It was such a fun experience as it was my first time ever testing for a designer. Sure, I have made many things designed by others but never tested an unreleased pattern before. I hope to test for more designers including for Laura in the future as it was a pleasant and relaxing experience.
Until next time, stay safe! Stay healthy!
Happy crocheting and knitting!
XO,
Laura
This post may contain affiliate links. I am paid a small commission if you make a purchase through the links on my site. Thank you for supporting my blog in this way.
Wow! It has been quite a journey designing and having this pattern tested. The first time I shared the Homeschooled Cardigan on any of my social platforms was on October 20, 2019 and this was a few weeks after finishing it. The one I am wearing in the pictures on this post was the second time designing this particular garment. I still have the original one in the house but wear the second one I knitted the most, mainly because it fits a lot better on me.
To purchase this knit pattern, you can visit my Etsy or Ravelry stores.
This cardigan has been named the Homeschooled Cardigan. If you follow me on Instagram or have read my About Me page on my blog, you probably figured out that I am not only a fiber artist but also a homeschooling mother to three kids. When homeschool was in session, I knitted to keep my hands busy and this is what came out!
The design itself is very basic in nature and it truly is a quick knit for a cardigan. The whole body portion of the garment is knitted from the bottom up. It is knitted up to the underarms and then split into three sections- front right, back, front left. After the body panel is complete, the arms and collar are knitted and sewn on.
The testing group for this cardigan was the most amazing group of girls I have worked with since becoming a designer. They all raved about the pattern and more than half of them have made two or more of the cardigan. I was so, so grateful for all the love they gave this cardigan pattern and I hope that it will be a pattern that you decide to take a chance on and try and love.
Happy knitting!
XO,
Laura
This post may contain affiliate links. I am paid a small commission if you make a purchase through the links on my site. Thank you for supporting my blog in this way.
The beautiful lace work that is worked on this shawl is called the twin leaf lace panel. The look of this lacing reminded me of the way the snow and ice whisked whenever Elsa used her powers. Hence, this shawl was so named the Elsa Shawl.
I am not a shawl wearer but lately I have been really enjoying designing them so I can guarantee that more shawl designs will be coming out this year.
In this blog post, you will find picture tutorials to guide you through the garter tab cast on and the i-cord bind off which are both used in this shawl.
Garter Tab Cast On
Cast on 3.
Row 1-6: Knit
I-Cord Bind Off
To cast on, knit the first stitch on your left needle as you normally would.
*Knit 2. Then knit the next 2 stitches together through the back loops.
To perform this, take your right needle and slip your needle from the back through the second stitch and then in through the first. Knit as you normally would.
The pictures below are pictures of how k2togtbl looks like. These pictures were not taken during the i-cord bind off but k2tbl is performed the same way.
I hope that these picture tutorials have helped you get through some of the stitches in your Elsa Shawl. If you have any questions, please feel free to reach out to me.
Happy knitting!
XO,
Laura
This post may contain affiliate links. I am paid a small commission if you make a purchase through the links on my site. Thank you for supporting my blog in this way.


Social Icons