Showing posts with label diy. Show all posts

Winter Sonata Cocoon Knit Pattern

Sunday, March 14, 2021


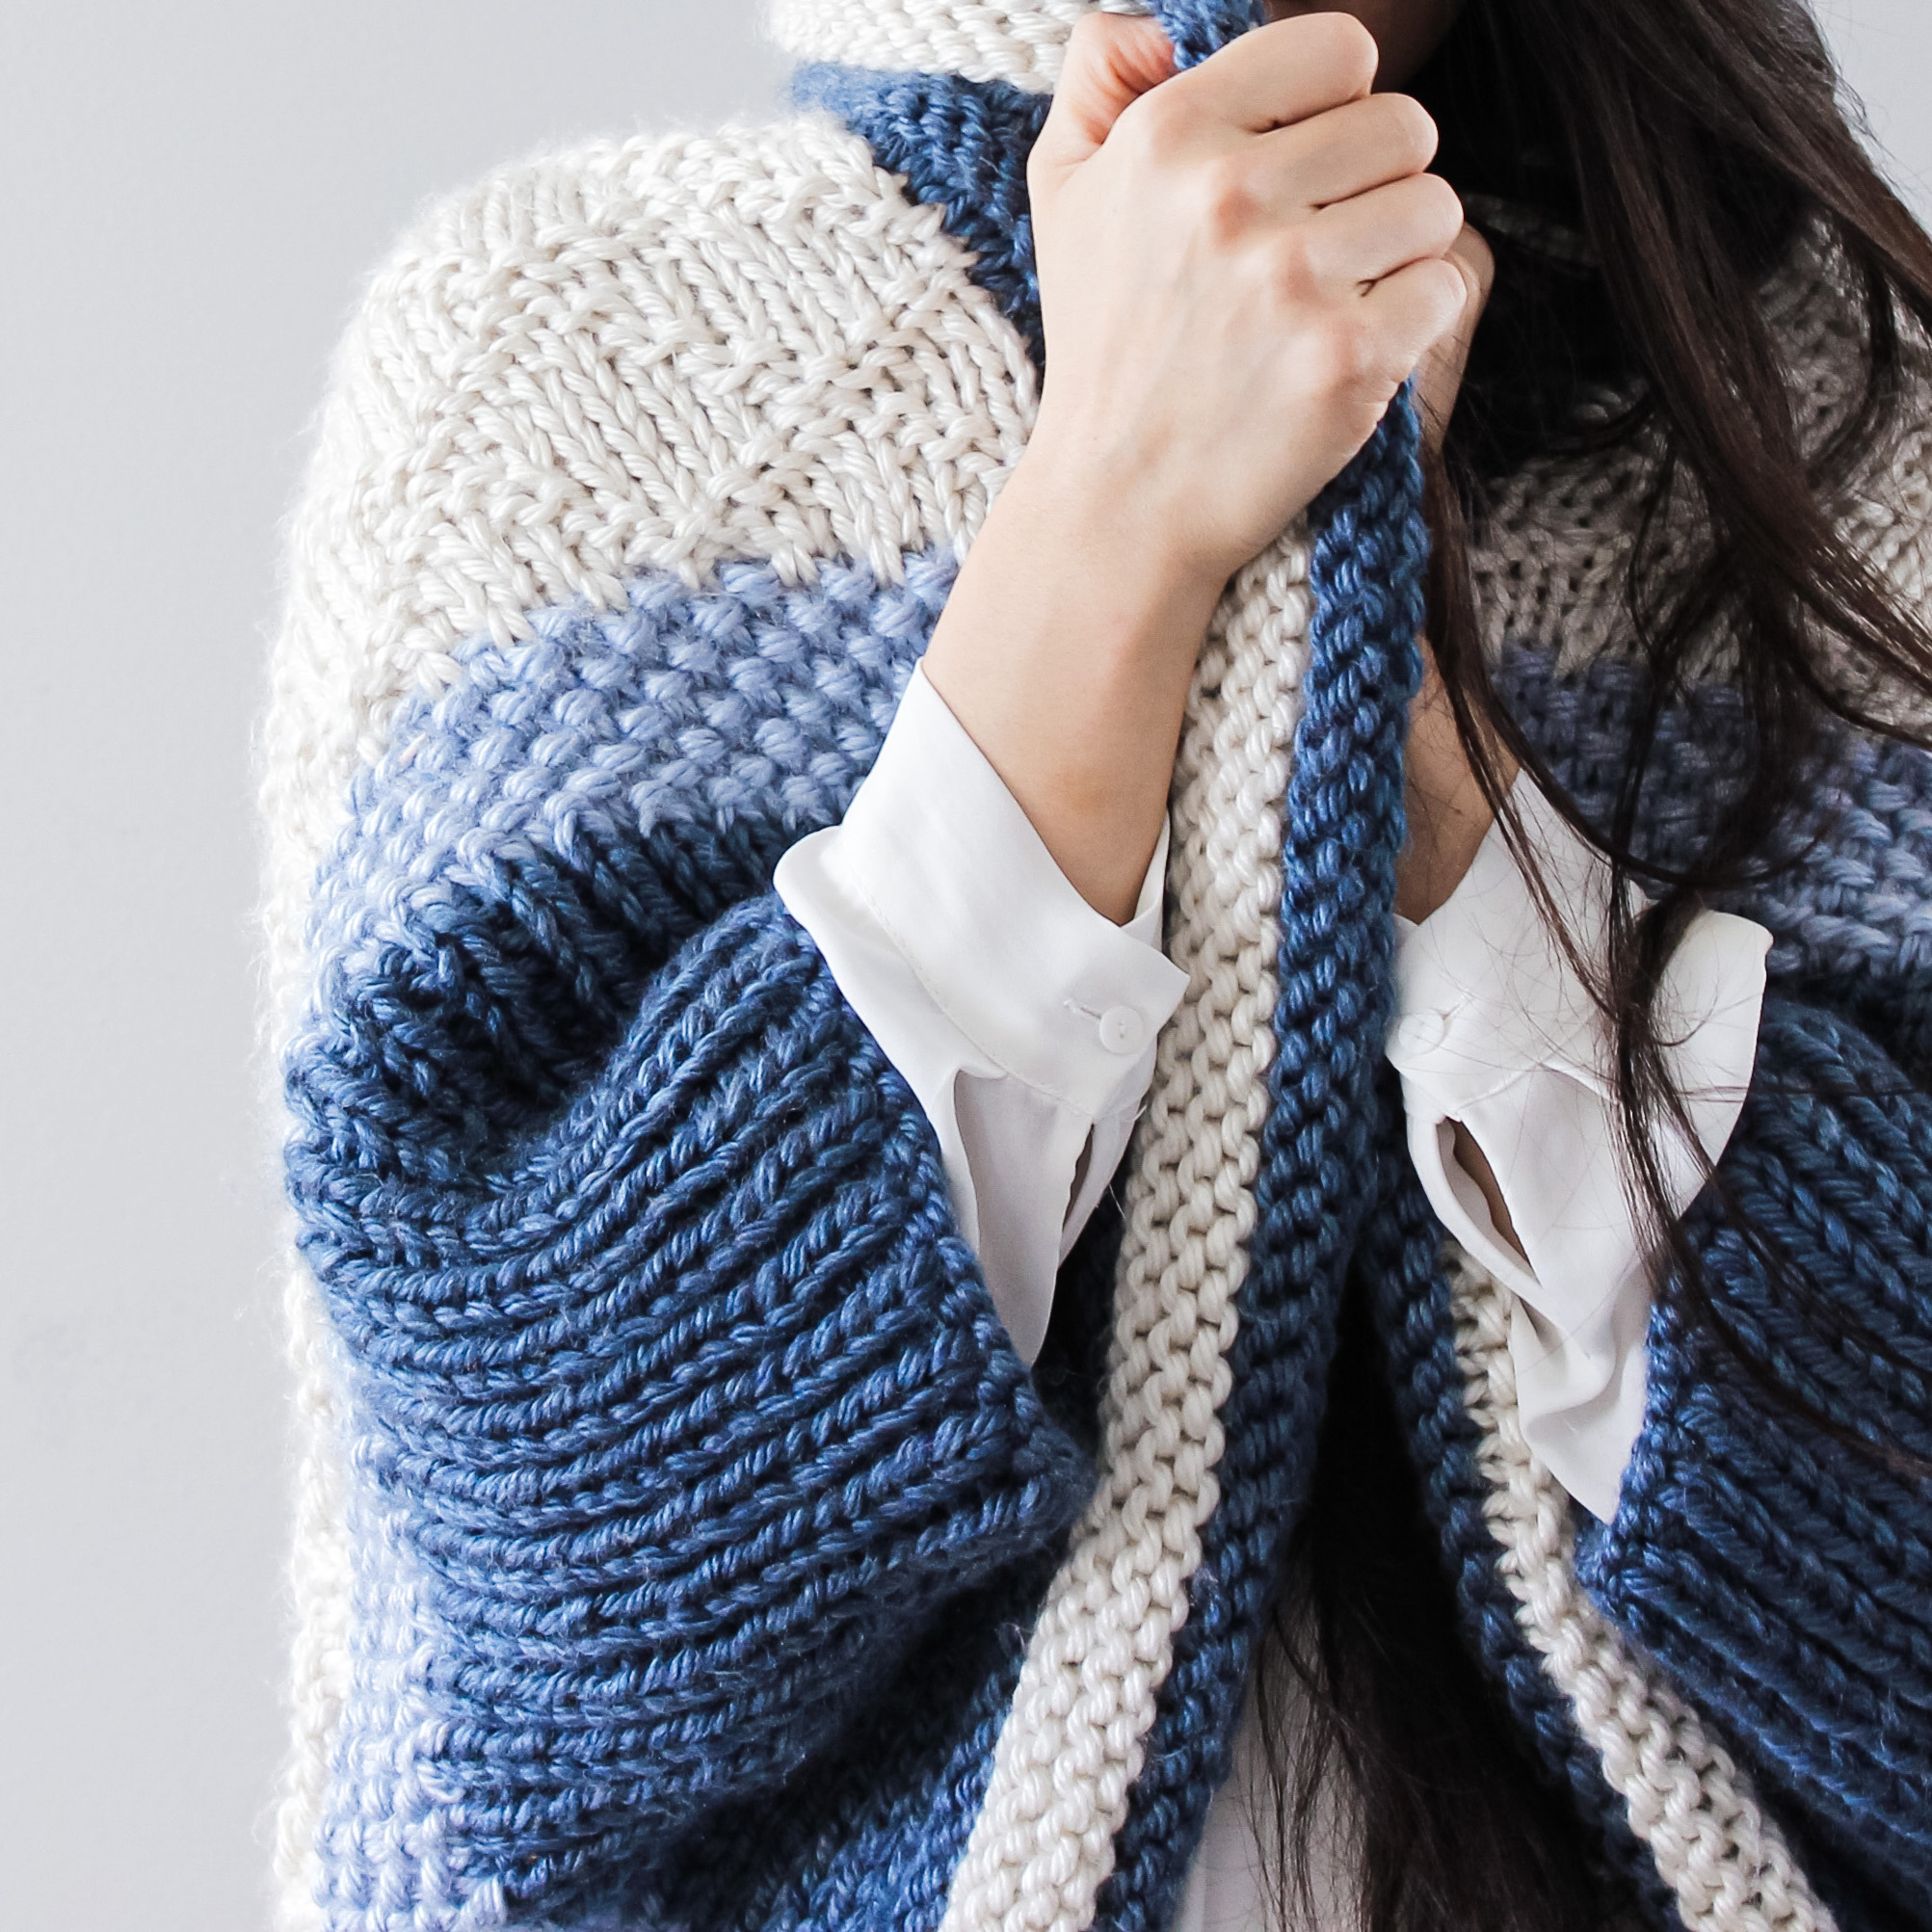
Close up picture of the Winter Sontata Cocoon

Winter Sonata Cocoon Knit Pattern

Cozy up to this snuggly blanket-like knit cocoon. The Winter Sonata Cocoon is a beginner-friendly knitting pattern (with some intermediate techniques) that uses Lion Brand's Hometown USA super bulky weight yarn. It's a garment yet feels like a big blanket! So grab your circular knitting needles and this pattern, and cozy up in front of the TV. The Winter Sonata Cocoon is the perfect pattern to knit up while watching your favorite Netflix show.

Shop Modesty by Laura

To purchase the inexpensive PDF pattern, please visit Etsy or Ravelry.


To pin this pattern for later, visit Pinterest.


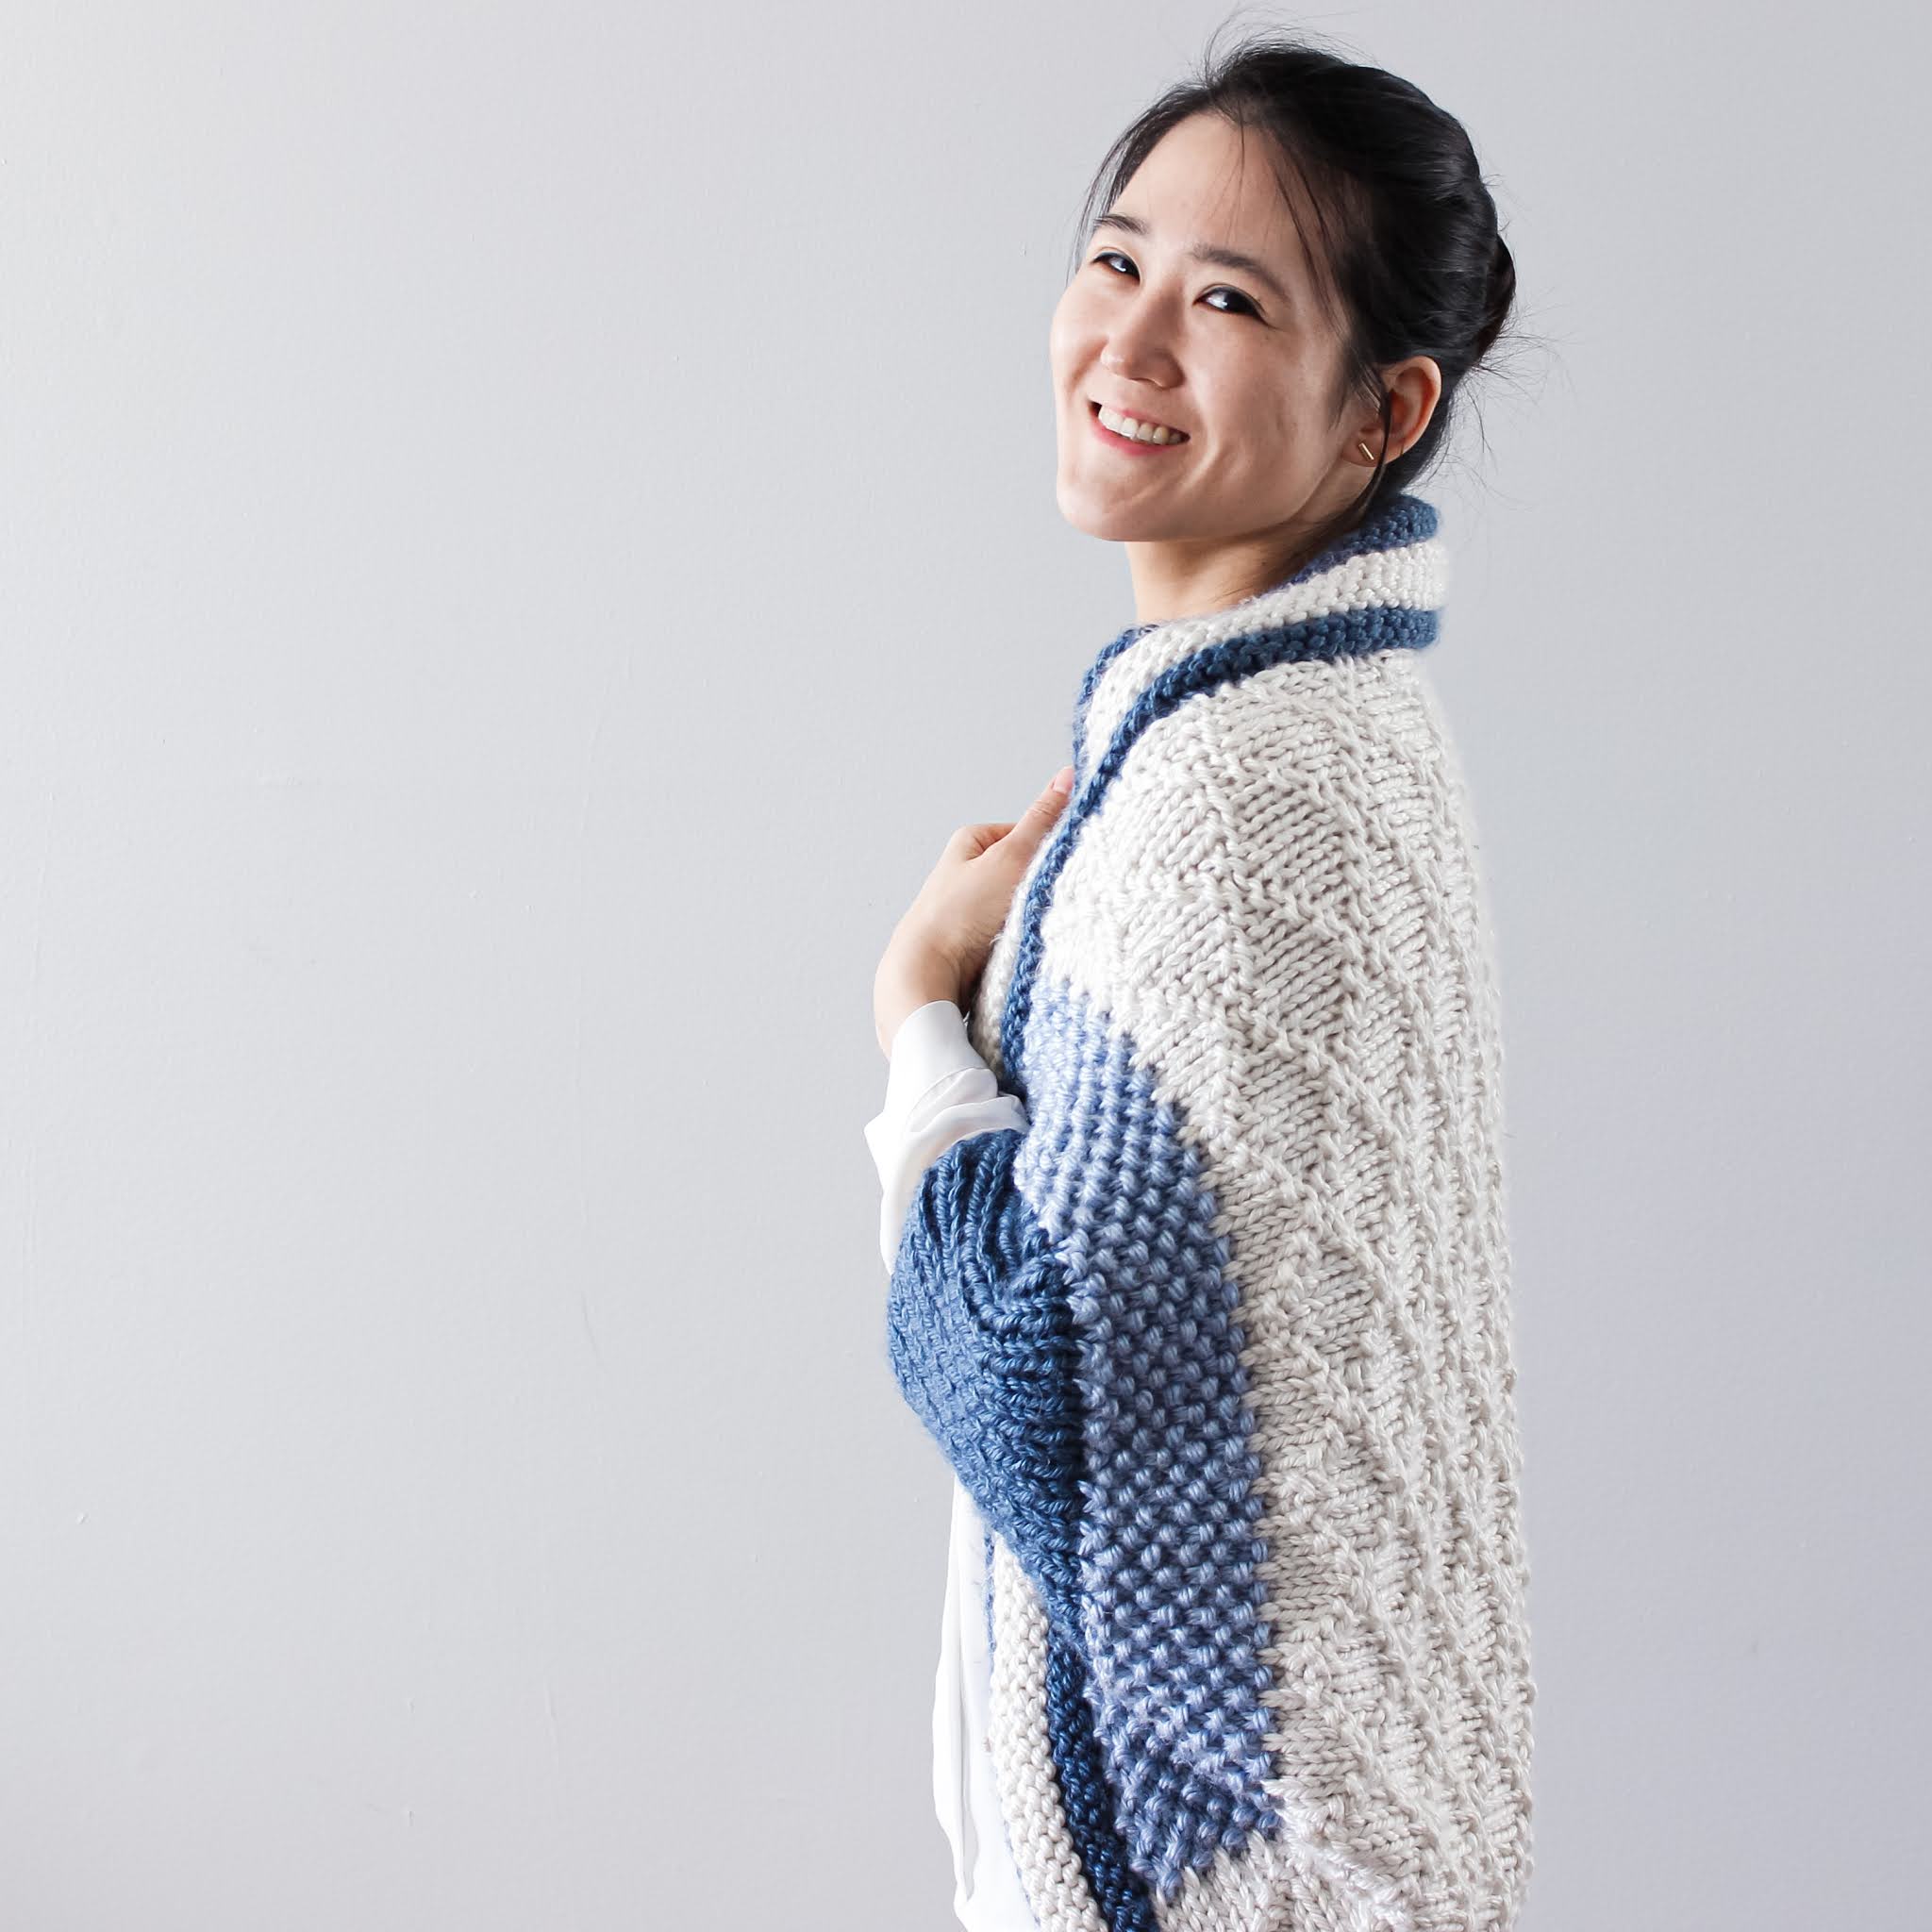
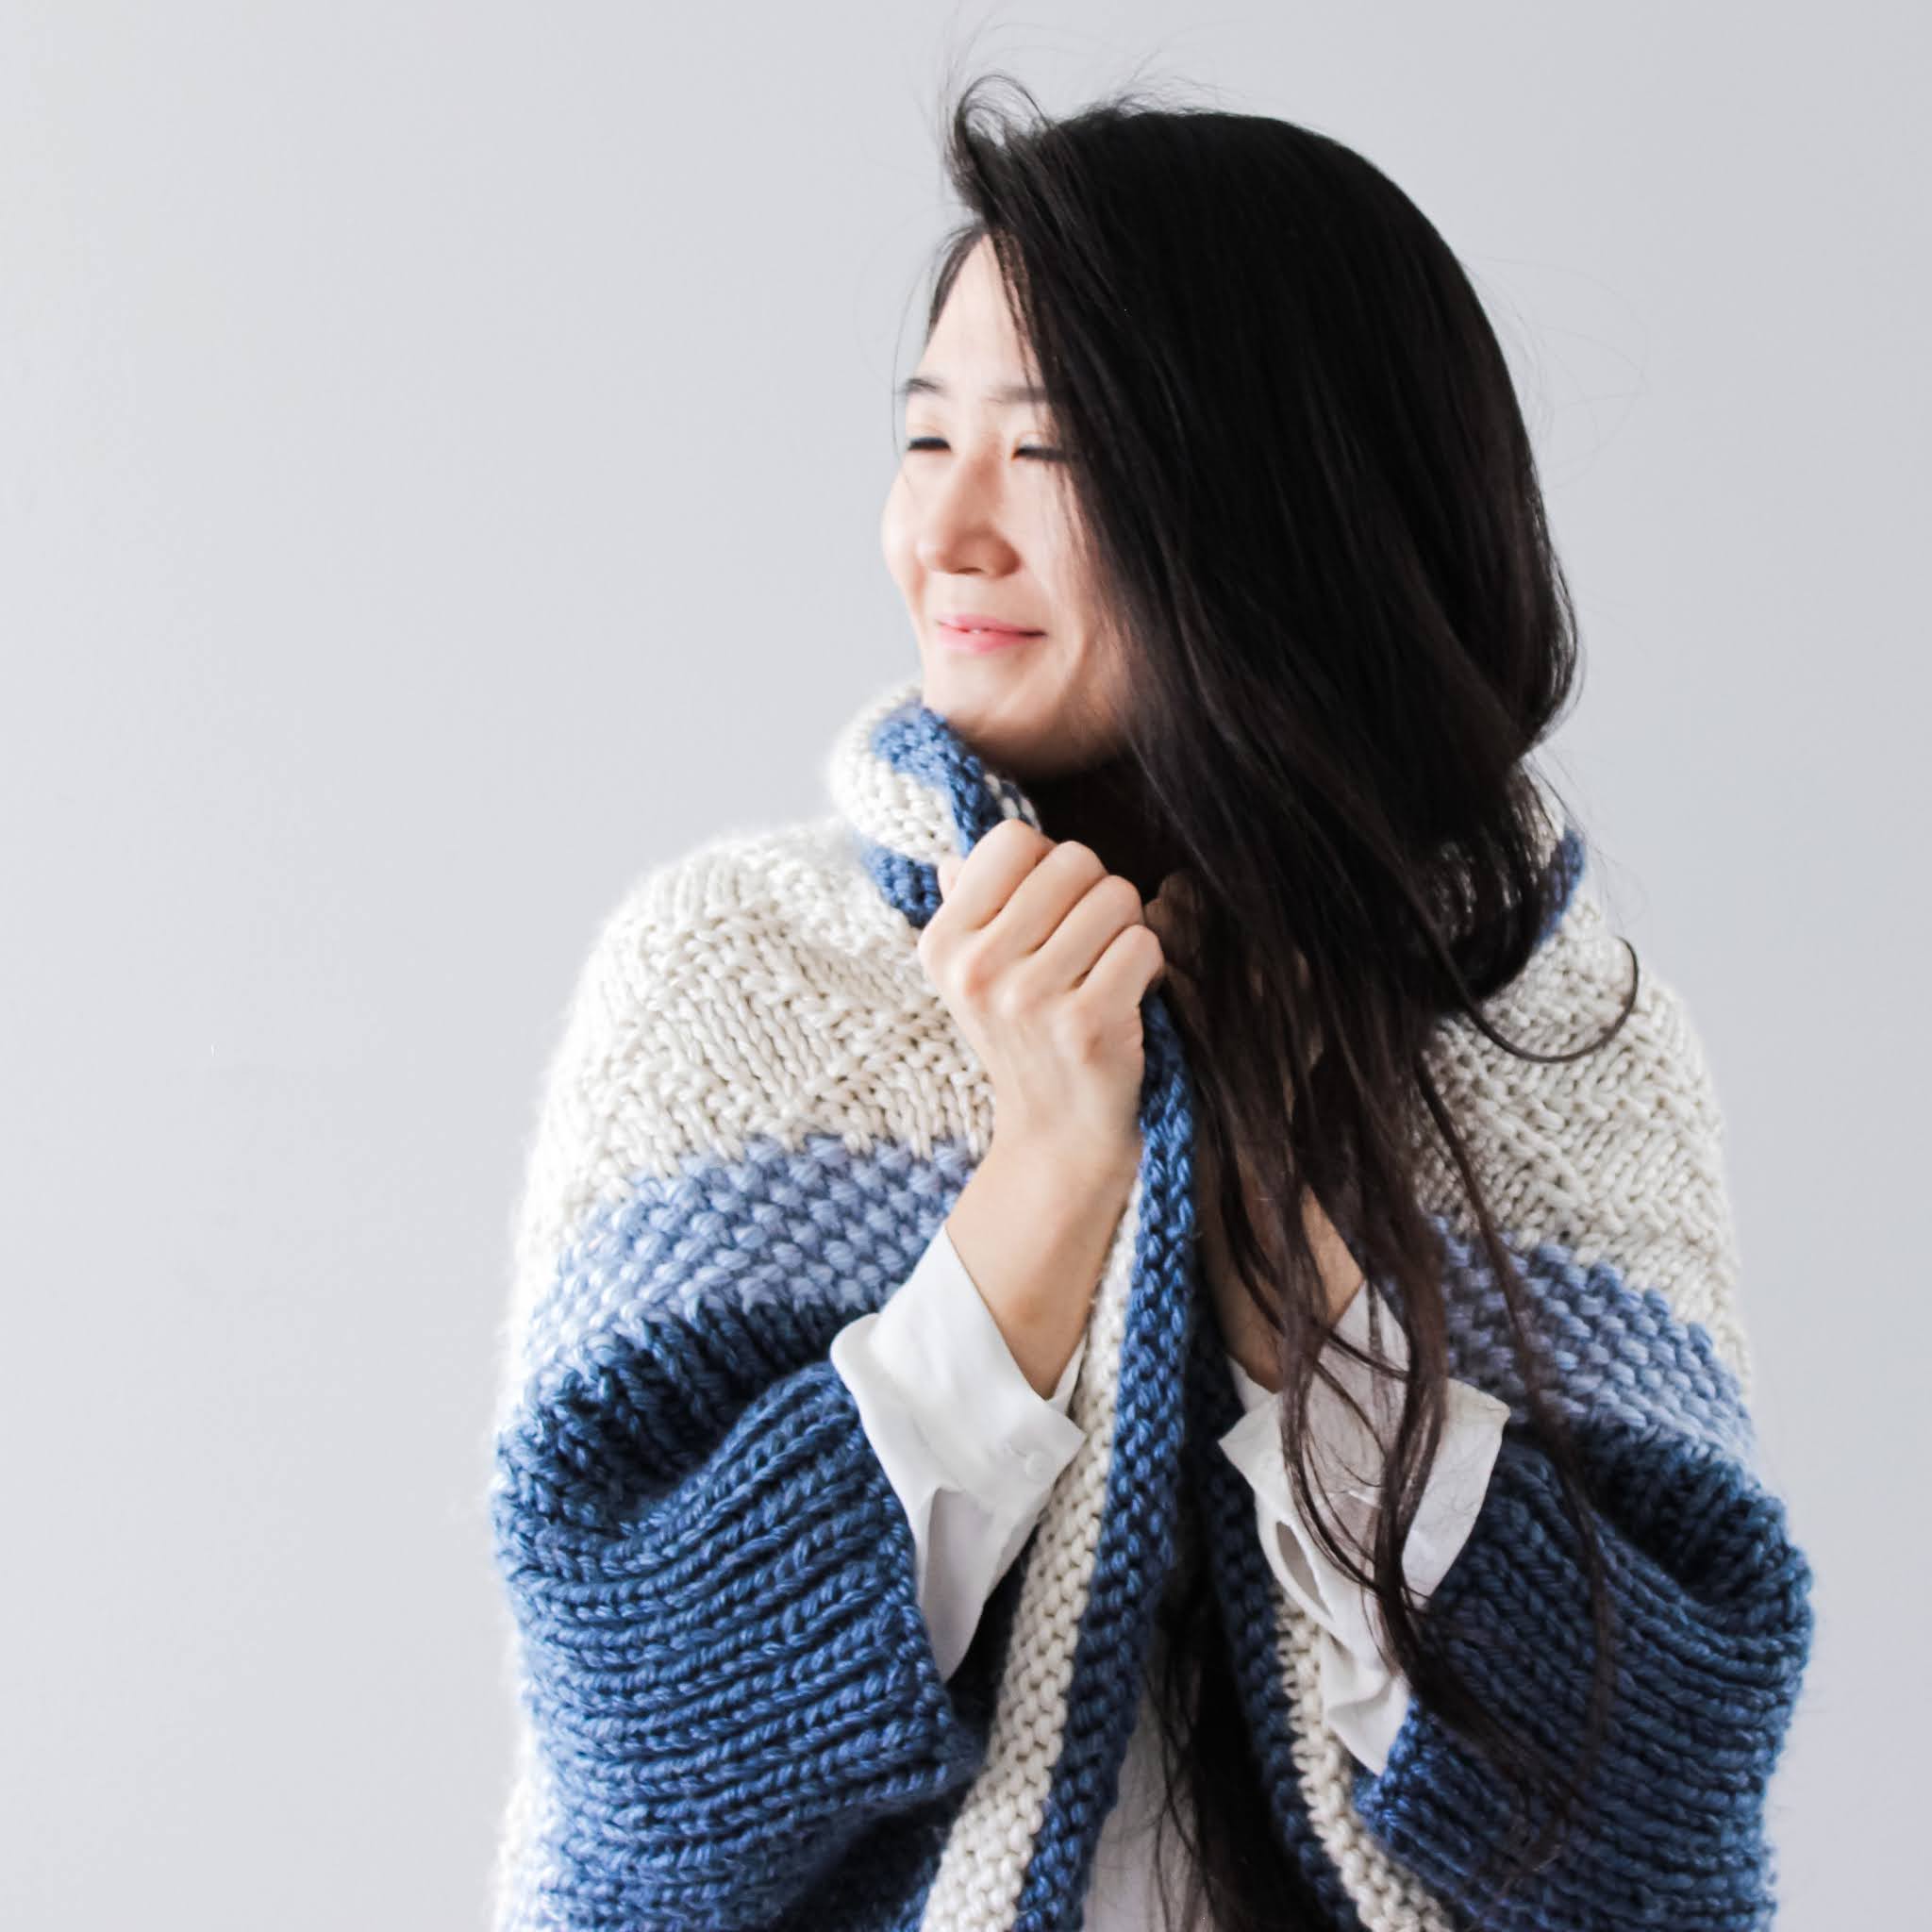
Designer wearing the Winter Sonata Cocoon.

The Pattern

The Winter Sonata Cocoon is a beginner-friendly knit pattern that includes a few intermediate techniques. The pattern is worked up in Lion Brand's Hometown USA and includes four different knit textures.

The cocoon is worked flat and then later worked in the round for the collar and the sleeves. You begin the cocoon starting with a provisional cast-on working the entire diamond motif of the back to the end of one sleeve. Later the provisional cast-on stitches are picked up and the remainder of the back and second sleeve are knitted.

The pattern is offered in 3 sizes: S/M, L/XL, and 2/3XL.

Design Story

Have you ever heard of the Kdrama Winter Sonata? Are you guessing what I think you're guessing? Yes, this cocoon was named with that Kdrama in mind. It was one of the very few Kdramas I remember watching in my teenage years. The sceneries that were shot for the Winter Sonata (Korean drama) made me want to hibernate. With the setting taking place in winter and with lots of snow, the Winter Sonata Cocoon reminded me of what I was missing while watching this drama, a cozy blanket-like garment.

After making your own, I can guarantee you that you will want to snuggle up in your Winter Sonata Cocoon all winter long.

Designer wearing the Winter Sonata Cocoon


Testers

Here are some of the beautiful Winter Sonata Cocoons my testers have made. To see more from these makers, simply click their pictures.


Yarns Used and Yardages

S/M: Hometown USA Color A: 313, Color B: 74, Color C: 193
L/XL: Hometown USA A: 375(380), B: 74(100), C: 239(225); DMC Knitty 10 A: 409, B: 105, C: 277
2/3XL: Hometown USA A: 486, B: 66, C: 266


End Remarks

Find me on Facebook and Instagram. Tag me with your finished Winter Sonata Cocoon by using the hashtag #modestybylaura.

Happy knitting!

XO,

Laura


This post may contain affiliate links. I am paid a small commission if you make a purchase through the links on my site. Thank you for supporting my blog in this way.

Cheese in the Trap Cardi Knit Pattern

Monday, October 5, 2020


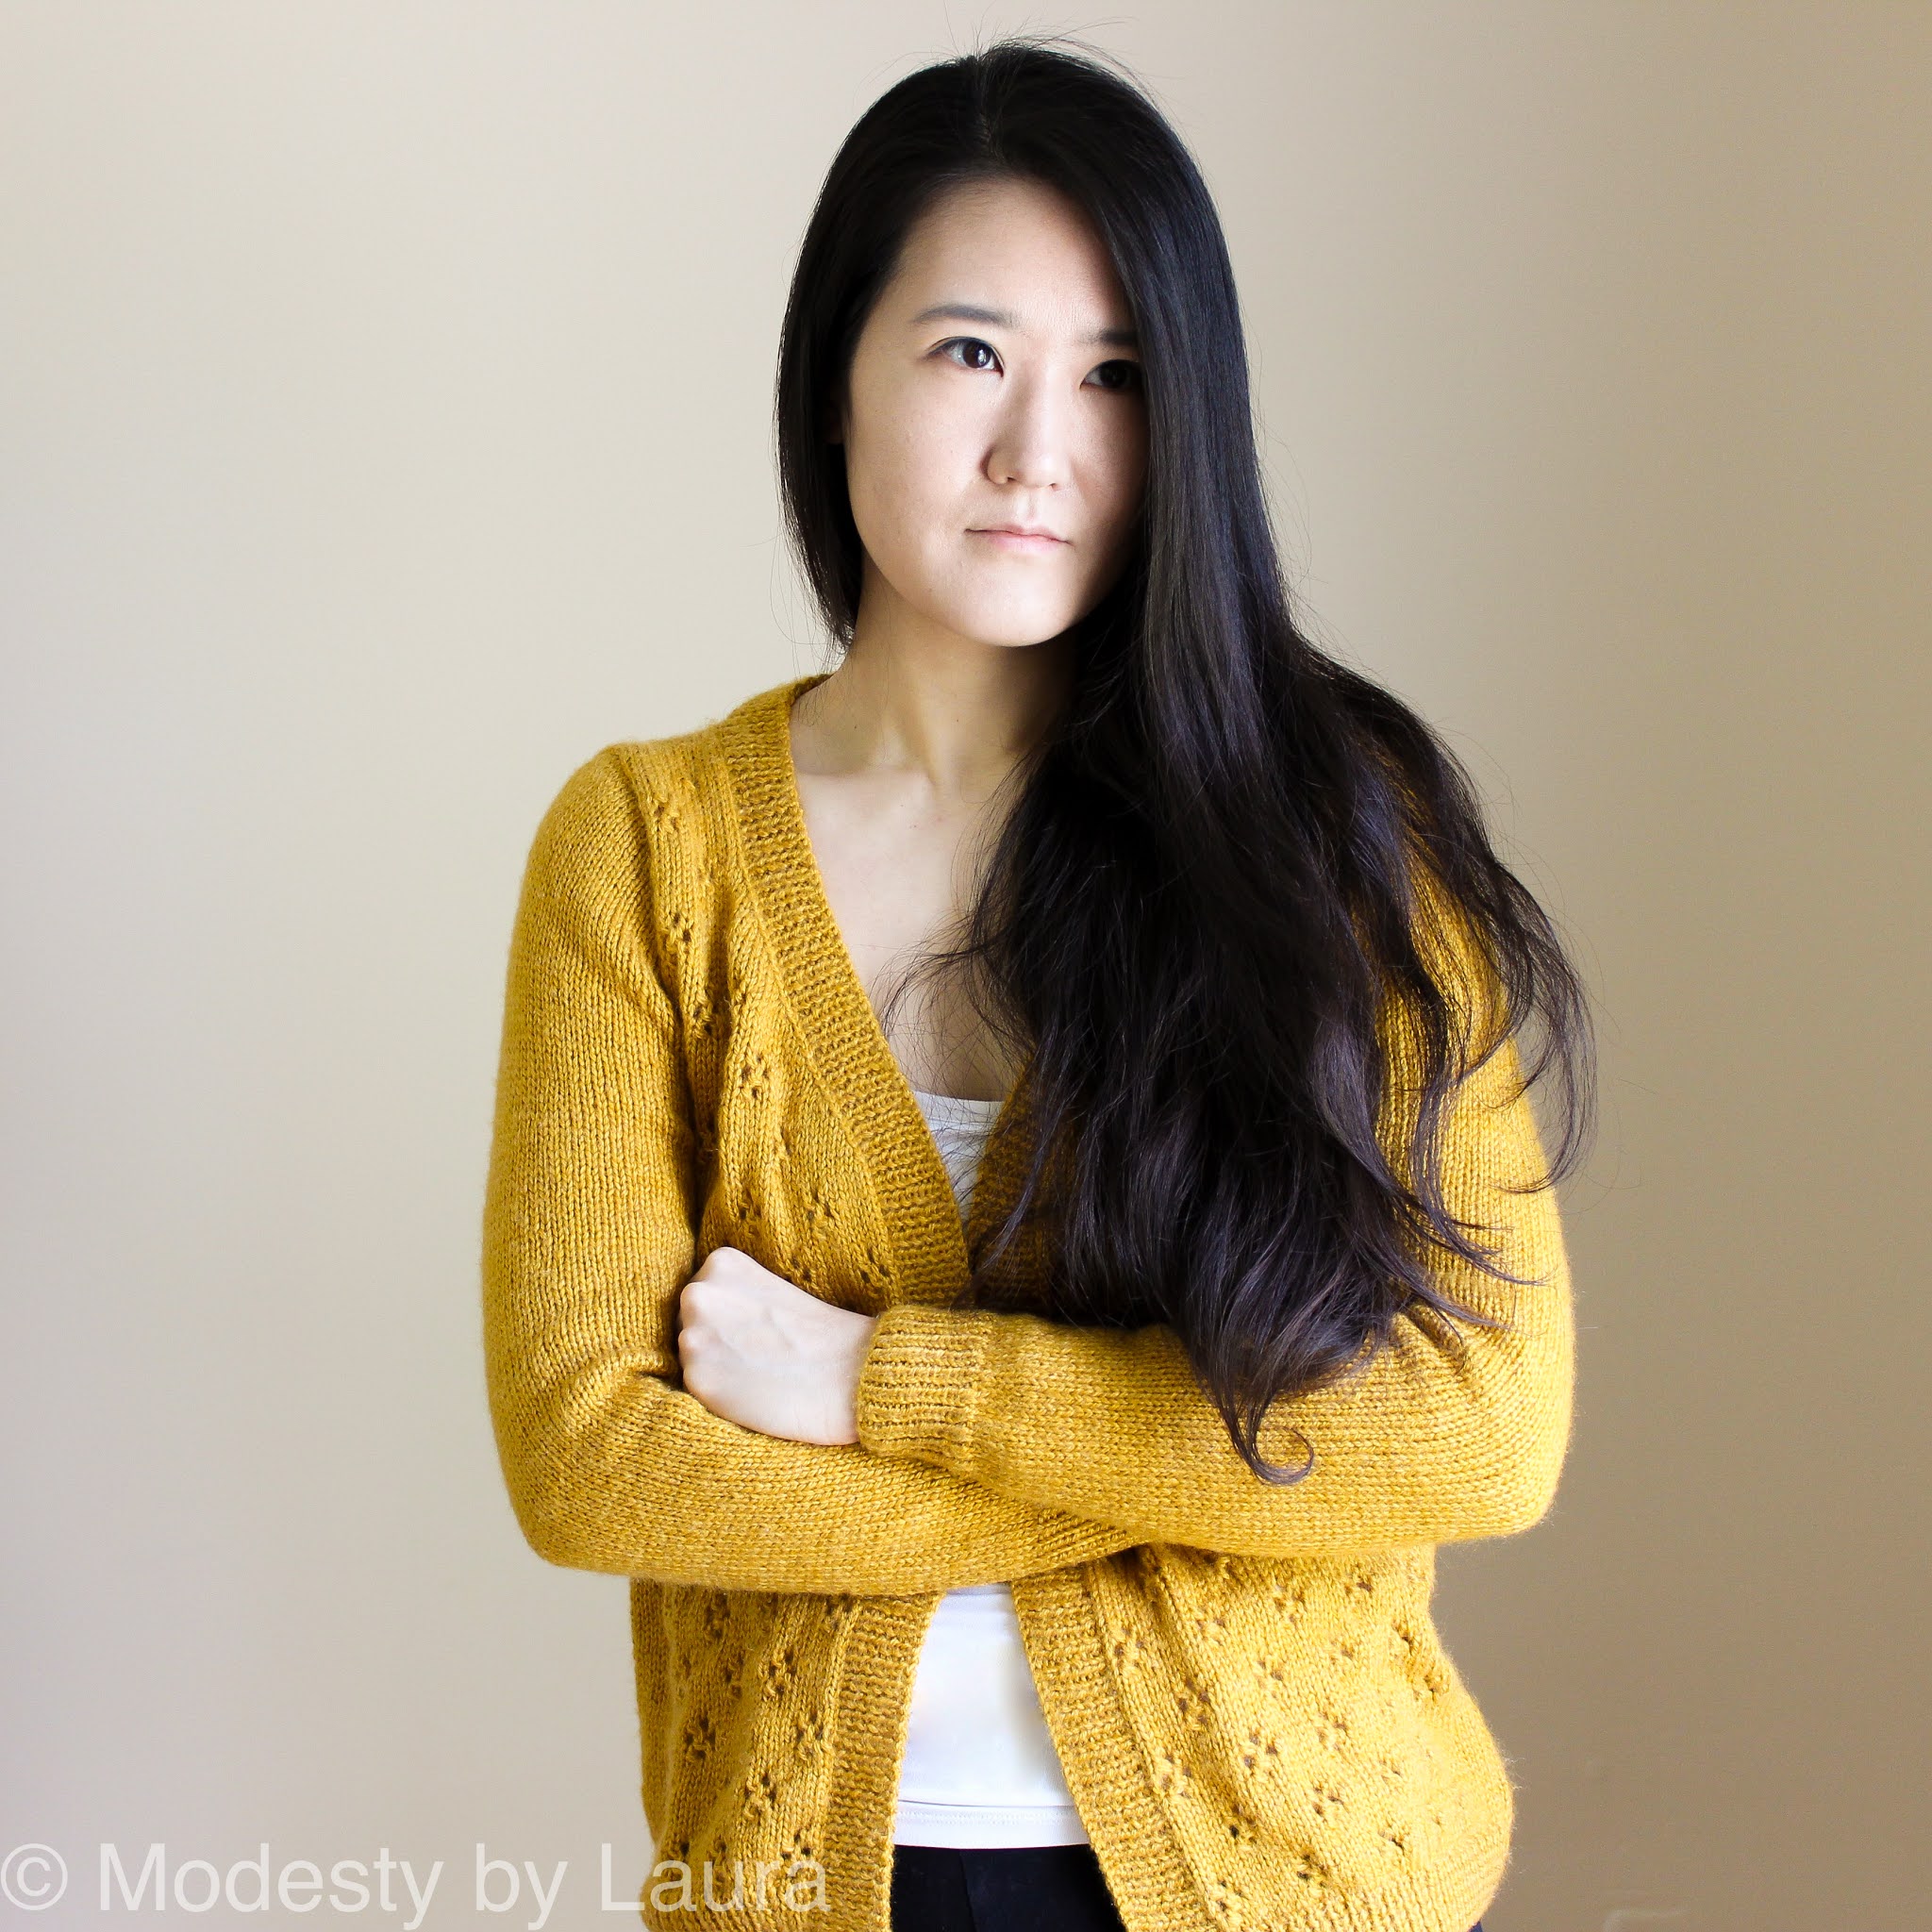
Designer of Modesty by Laura wearing the Cheese in the Trap Cardi knit pattern with her shit tzu dog.

Cheese in the Trap Cardi Knit Pattern

What comes to mind when you think of cheese? Maybe swiss cheese? Inspired by the Korean drama, movie, and webtoon, I present to you the Cheese in the Trap Cardi. This cheesy, cozy, fitted knit cardigan is the perfect garment in cool fall weather.

Shop Modesty by Laura 

To purchase an inexpensive PDF file of the Cheese in the Trap Cardi, please visit Etsy or Ravelry.


Modesty by Laura Cheese in the Trap Cardi Knit Pattern

To pin this for later, visit Pinterest.

The Pattern

The Cheese in the Trap Cardi is a fitted cardigan worked bottom-up with set-in sleeves with 2 strands held together. The yarn used was Yarn Bee 44th Street in Mustard. Roughly 2,000 yards of yarn are needed to complete the only size offered at the moment. The yarn is considered a category 3 (DK) but is a thinner DK weight yarn and can be found at Hobby Lobby.


The Cheese in the Trap Cardi is only offered in size XS/S. Unfortunately, I was unable to figure out the math for this particular design specifically because of the front panels. I am hoping to figure out the grading for this irresistible cardigan next spring. Stay tuned!

Design Story

I was inspired to design this cardigan after watching both the Korean drama and movie of the webtoon, Cheese in the Trap. I had originally thought of making this cardigan a plain yellow garment but another big-time blogger came out with something similar. To not become a "copy-cat", I decided to design my cardigan more fitting to the name I decided to give it. 

When I think of cheese, Swiss cheese always comes to mind which happens to be one of my favorite cheeses. (Brie cheese comes in first place in my heart though.) To represent that holey Swiss cheese, I used the beautiful diamond lace stitch to complete the look.

A lot of time was spent calculating out this detailed garment and I am truly pleased with the way it came out. 


Designer of Modesty by Laura wearing a knit Cheese in the Trap Cardi

The Cheese in the Trap Cardi was a fun design to create and also my favorite out of all the garments that I have designed thus far. Because of this, it makes me sad that I am not able to have this pattern size inclusive. (One day, it will. I promise.)

Korean American Designer wearing knit Cheese in the Trap Cardi. Designer for Modesty by Laura.

Purchase your pattern today. Sit down in front of the TV with your knitting needles in hand with the Kdrama streaming. By the end of the drama series, you should have your very own Cheese in the Trap Cardi!

Designer of Modesty by Laura wearing knit Cheese in the Trap Cardigan.

Designer of Modesty by Laura wearing a knit Cheese in the Trap Cardi

Designer of Modesty by Laura wearing a knit Cheese in the Trap Cardi. The backside of the cardigan is shown.


Designer of Modesty by Laura wearing a knit Cheese in the Trap Cardi.


Ending Remarks


Stay connected with me! Find me on Instagram and Facebook! Tag me with your makes using the hashtag #modestybylaura.

Until next time, happy knitting!


XO, 

Laura

IMG_6176.png

This post may contain affiliate links. I am paid a small commission if you make a purchase through the links on my site. Thank you for supporting my blog in this way.

Middleton Market Bag Free Crochet Pattern

Thursday, June 25, 2020


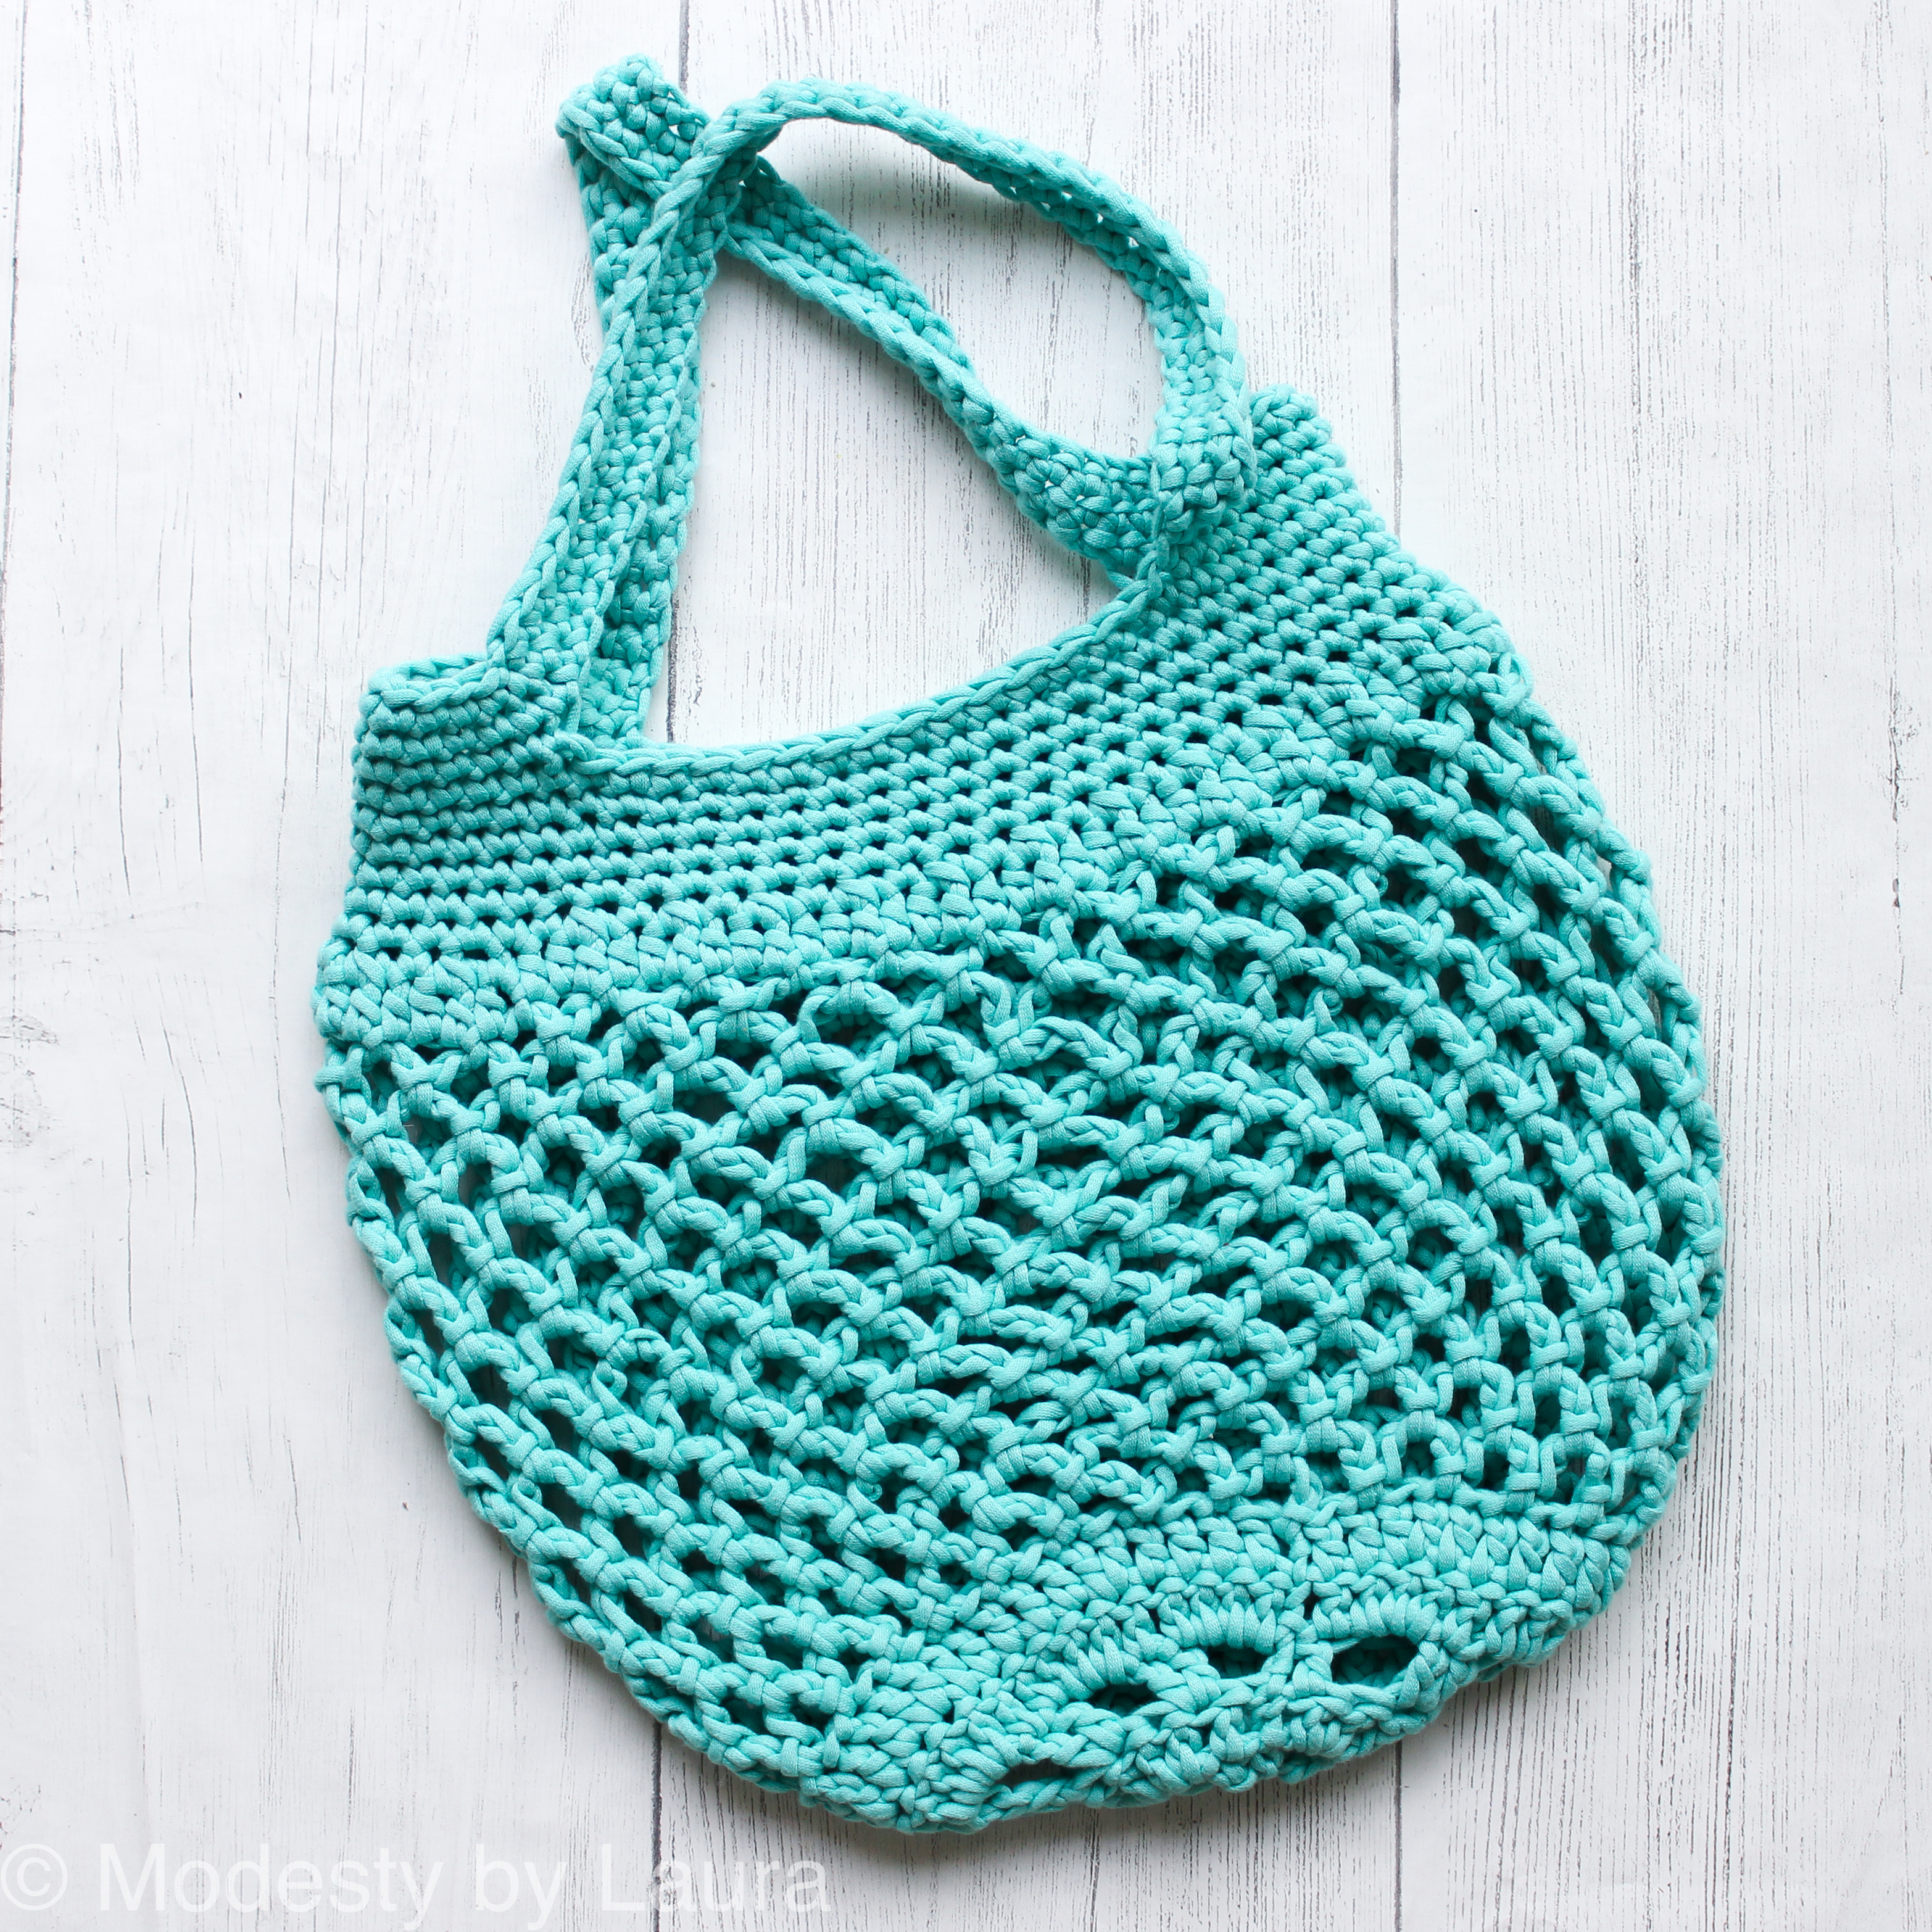
Modesty by Laura crochet Middleton Market Bag


Middleton Market Bag Crochet Pattern


The Middleton Market Bag is the perfect farmer's market companion. With its classic mesh look, this beginner-friendly crochet pattern can be the perfect market day companions. Put all your favorite finds in this beautiful and quick crochet pattern. 

Shop Modesty by Laura


To purchase an inexpensive PDF version of the Middleton Market Bag, please visit Ravelry.

For more of the Middleton Bag Collection, refer to the links below.


Middleton Purse

Ravelry Etsy


Modesty by Laura Middleton Purse crochet pattern.

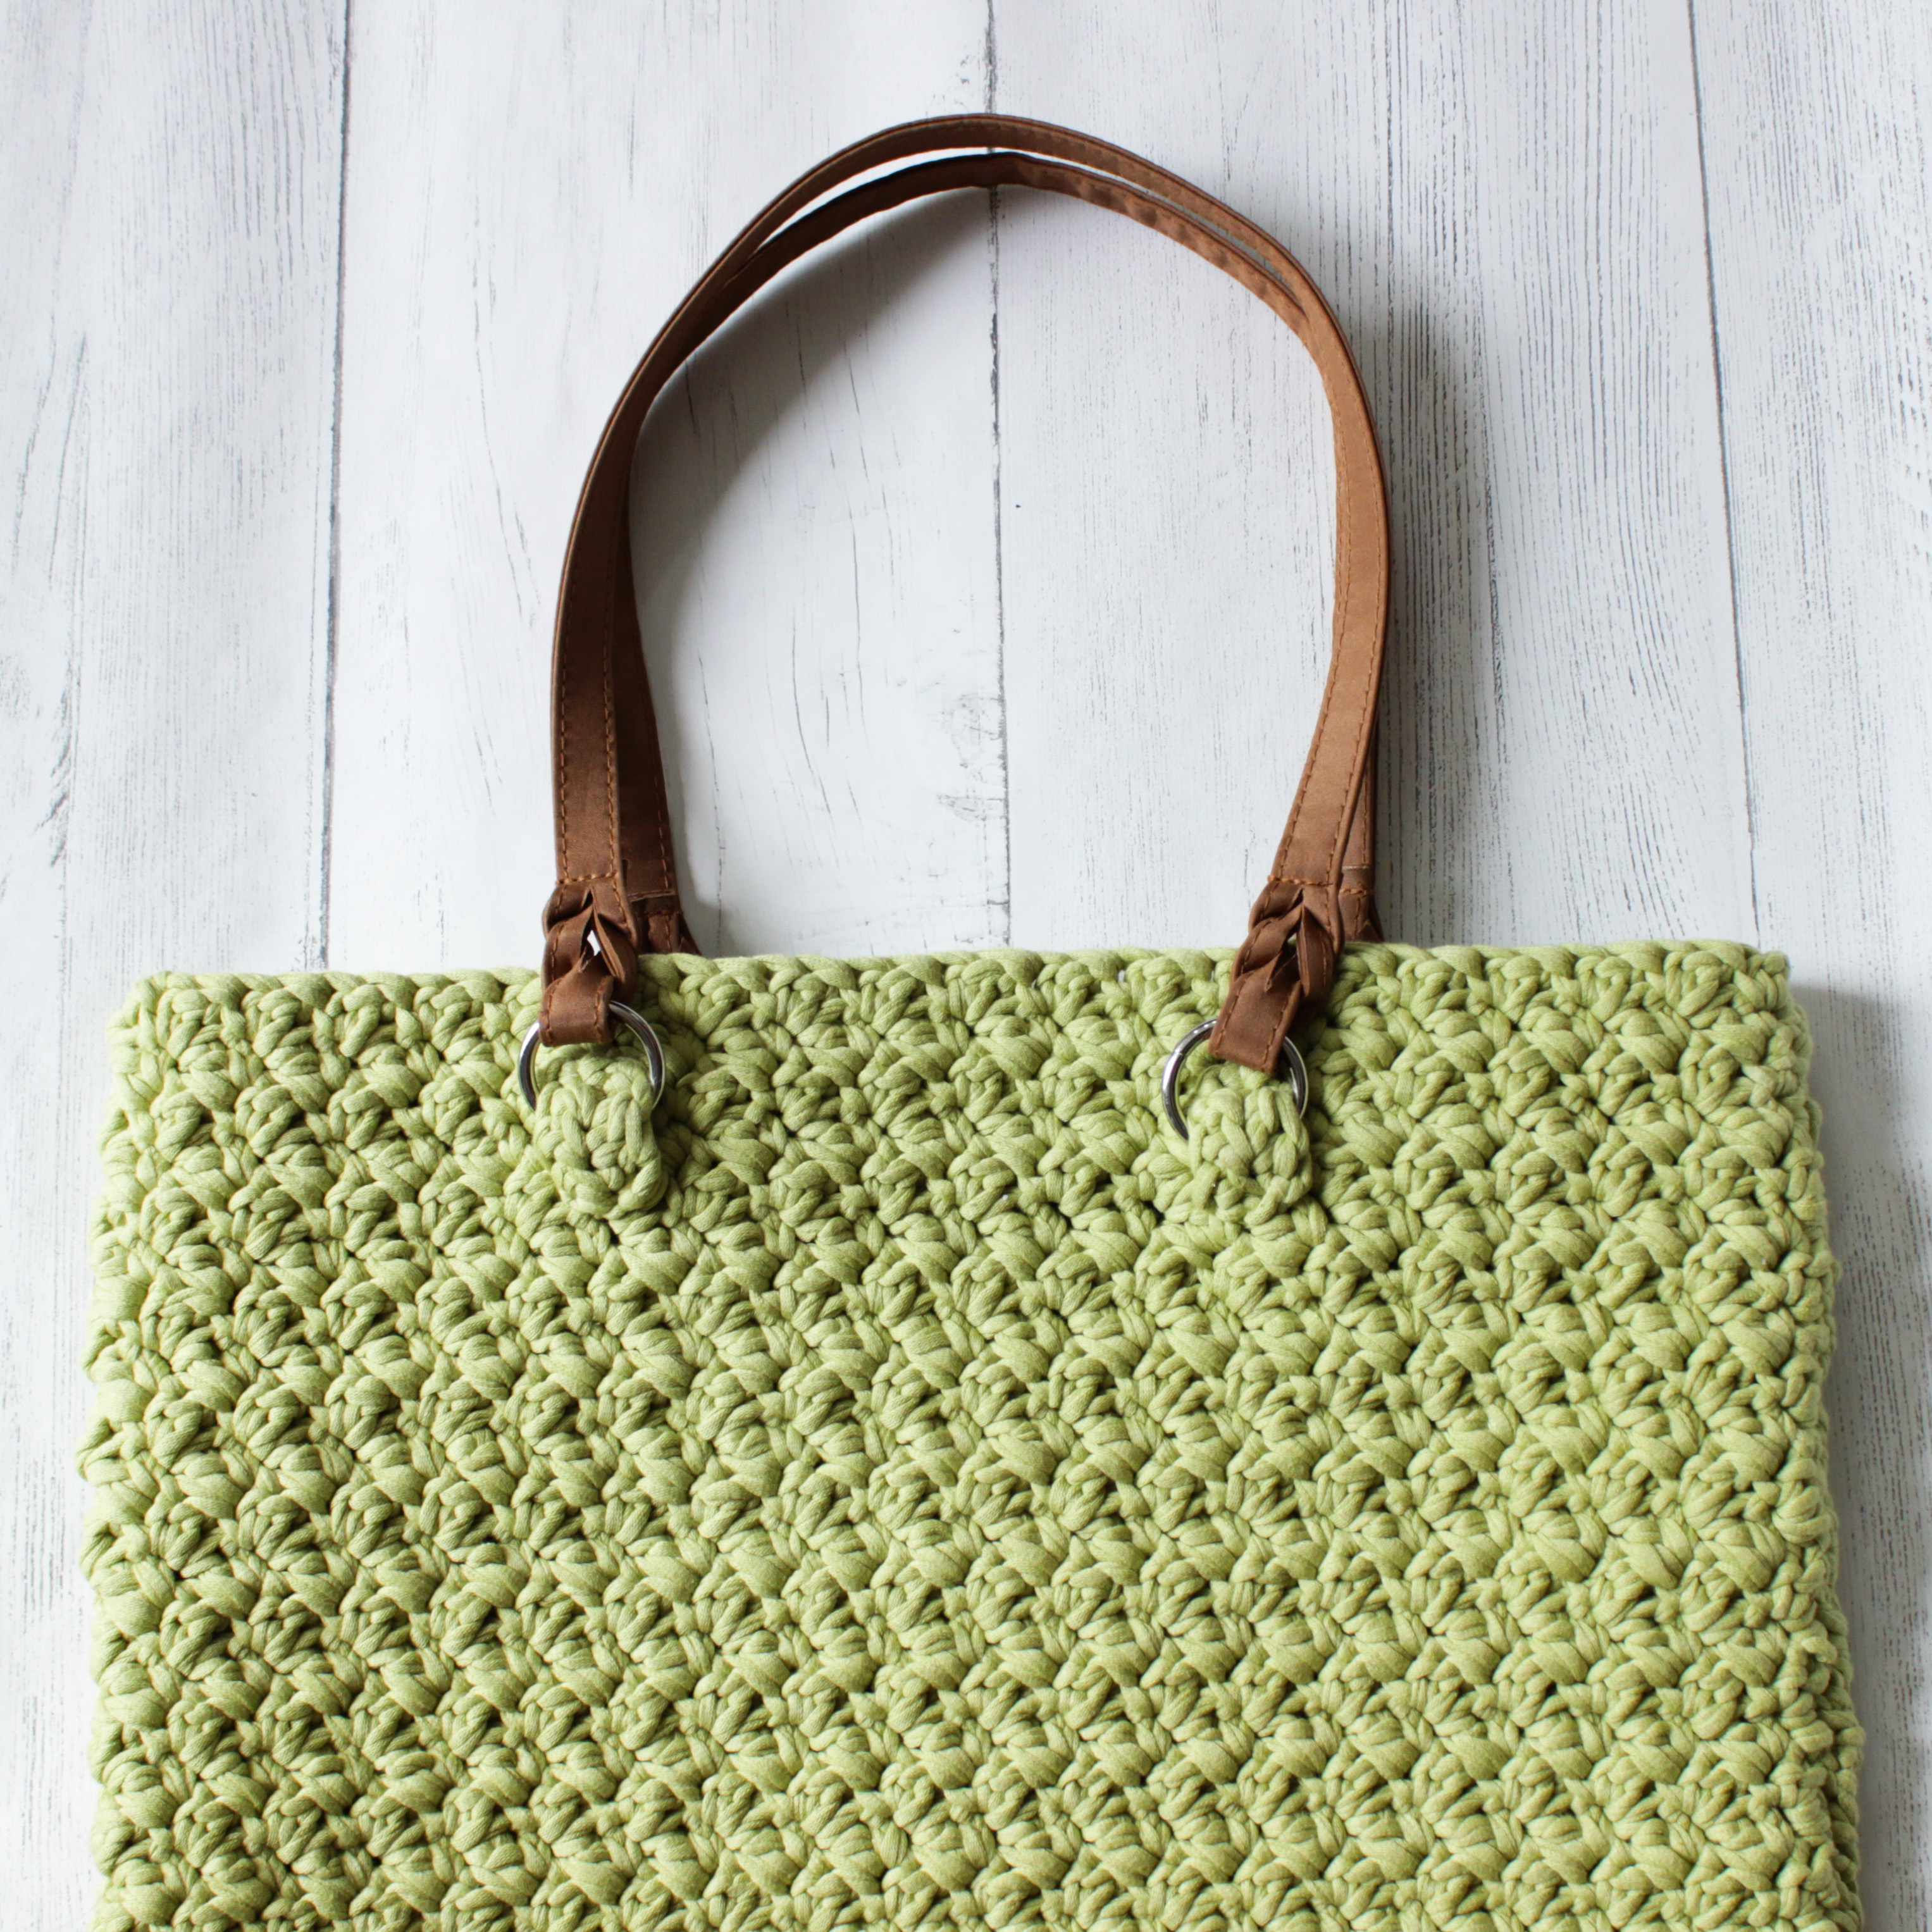
Middleton Tote

Ravelry Etsy


Modesty by Laura crochet Middleton Tote bag.


To pin this pattern for later, visit Pinterest.


Design Story


The Middleton Market Bag was designed last year along with two other crochet bags. The Middleton Bag Collection came about because I was at a loss for inspiration for summer wear. So, I visited the world of accessories. The Middleton Market Bag went through not 1, not 2, but 4 revisions. It was a learning experience and I enjoyed designing the perfect market mesh bag.


The Pattern


This crochet pattern is quick and beginner-friendly. It is constructed from the bottom-up starting with a magic circle and slowly making its way up with multiple chains.


Modesty by Laura Middleton Market Bag shown from the bottom.


Materials

-1 skein of Bernat Maker Home Dec
-8mm hook
-tapestry needle


Abbreviations


MR- magic ring

ch-chain

chsp-chain space

dc-double crochet

hdc-half double crochet

sc- single crochet

sc2tog-single crochet 2 together

slst-slip stitch

st-stitch


Gauge


10 sts and 8.5 rows is 4”.


Notes


The bag is worked in rounds. It is highly recommended that you use a stitch marker to mark the beginning of the round.

The chain 2 in the beginning counts of each round counts as a stitch.


Pattern


Create a Magic Ring


Round 1: ch 2, dc in the MR, *ch 2, 2dc cluster* repeat for a total of 4 times, ch2, slst at the top of the ch 2, turn your work (5 chsps)


Pull the MR closed.


Round 2: ch 2, 2dc in the next chsp, *dc in the next st, 3 dc in the next ch sp* repeat to the end ch sp, dc in the final st, slst into the top of the ch 2, turn your work (20)


Round 3: ch4 (counts as st and ch 2), 2dc in the next st, ch 2 and skip a st, *2dc in the next st, ch 2 and skip a st* dc in the last st, slst in the 2nd ch of the ch 4, turn your work


Round 4: ch 2, dc in the next st, 3dc in the next ch sp, *dc in the next 2 sts, 3dc in the next ch sp* repeat to the end, slst in the top of ch 2, turn your work (50)


Round 5: ch 2, dc in the next 4, 2dc in the next, *dc in the next 5, 2 dc in the next* repeat until you have 2 left, dc in the last 2, slst in the top of ch 2 (58)


From here we will work in continuous rounds. Mark your first chsp so you know what round you are on.


Round 6: *ch 4, skip a st, slst in the next st* repeat until you slst into the first chsp


Round 7-17: *ch4, slst in the next chsp* repeat til you slst into the first chsp of the round


Round 18: *ch3, slst in the next chsp* repeat til you slst into the first chsp of the round


Round 19:  *ch2, slst in the next chsp* repeat til you slst into the first chsp of the round


Round 20: hdc into each slst and ch starting from the next slst after the chsp you just made


Row 21: sc in the next st, *sc2tog, sc* repeat to the end


Row 22-26: sc around


Row 27: sc in the next 14 sts, ch 35, skip the next 14 sts, sc in the next 14 sts, ch 35, skip 15 sts


Row 28: sc in the next 14 sts, sc across the ch 35, sc in the next 14 sts, sc across the ch 35


Row 29-30: sc around


Slst into the next st when finished with row 30. Fasten off and weave in all loose ends.


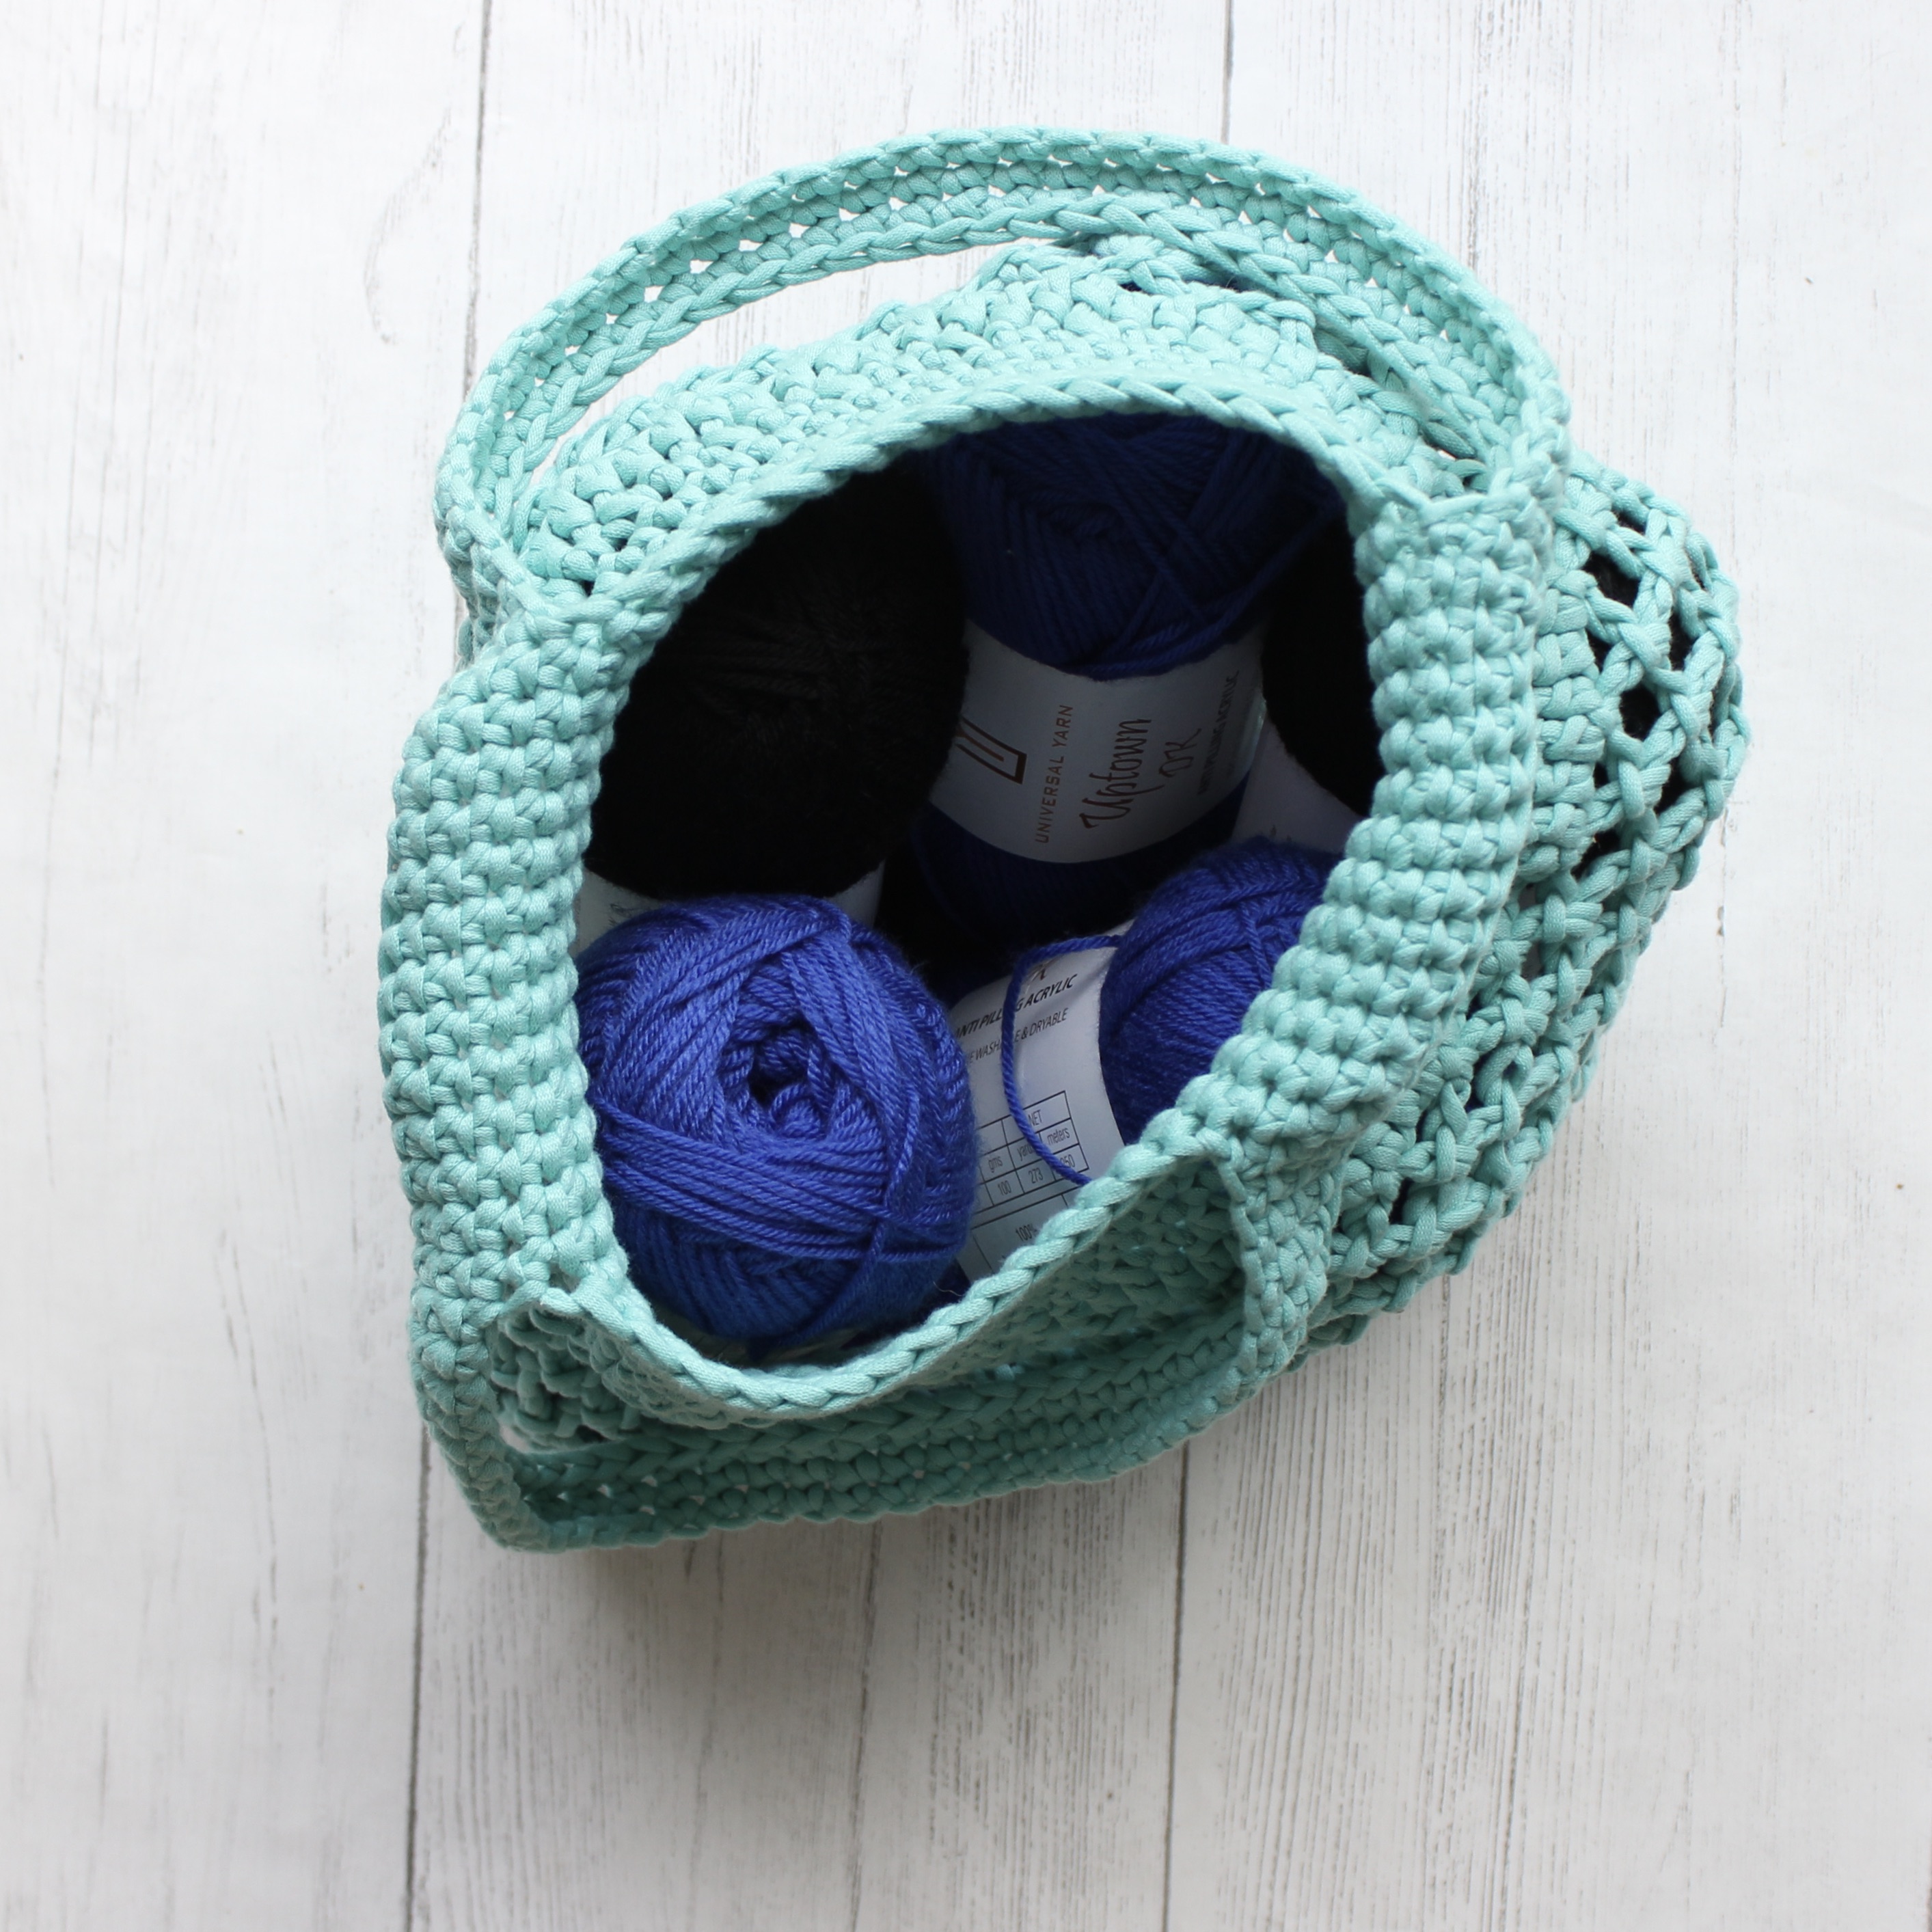
Middleton Market Bag stuffed with DK weight yarn.

Ending Remarks


I stuffed my Middleton Market Bag with yarn. What will you be collecting in your market bag?


Keep in touch by following me on Instagram or Facebook! Remember to use the hashtag #modestybylaura with your makes!


Happy crocheting!


XO,


Laura


Modesty by Laura logo


This post may contain affiliate links. I am paid a small commission if you make a purchase through the links on my site. Thank you for supporting my blog in this way.

Monarch Beanie Crochet Pattern

Thursday, May 28, 2020


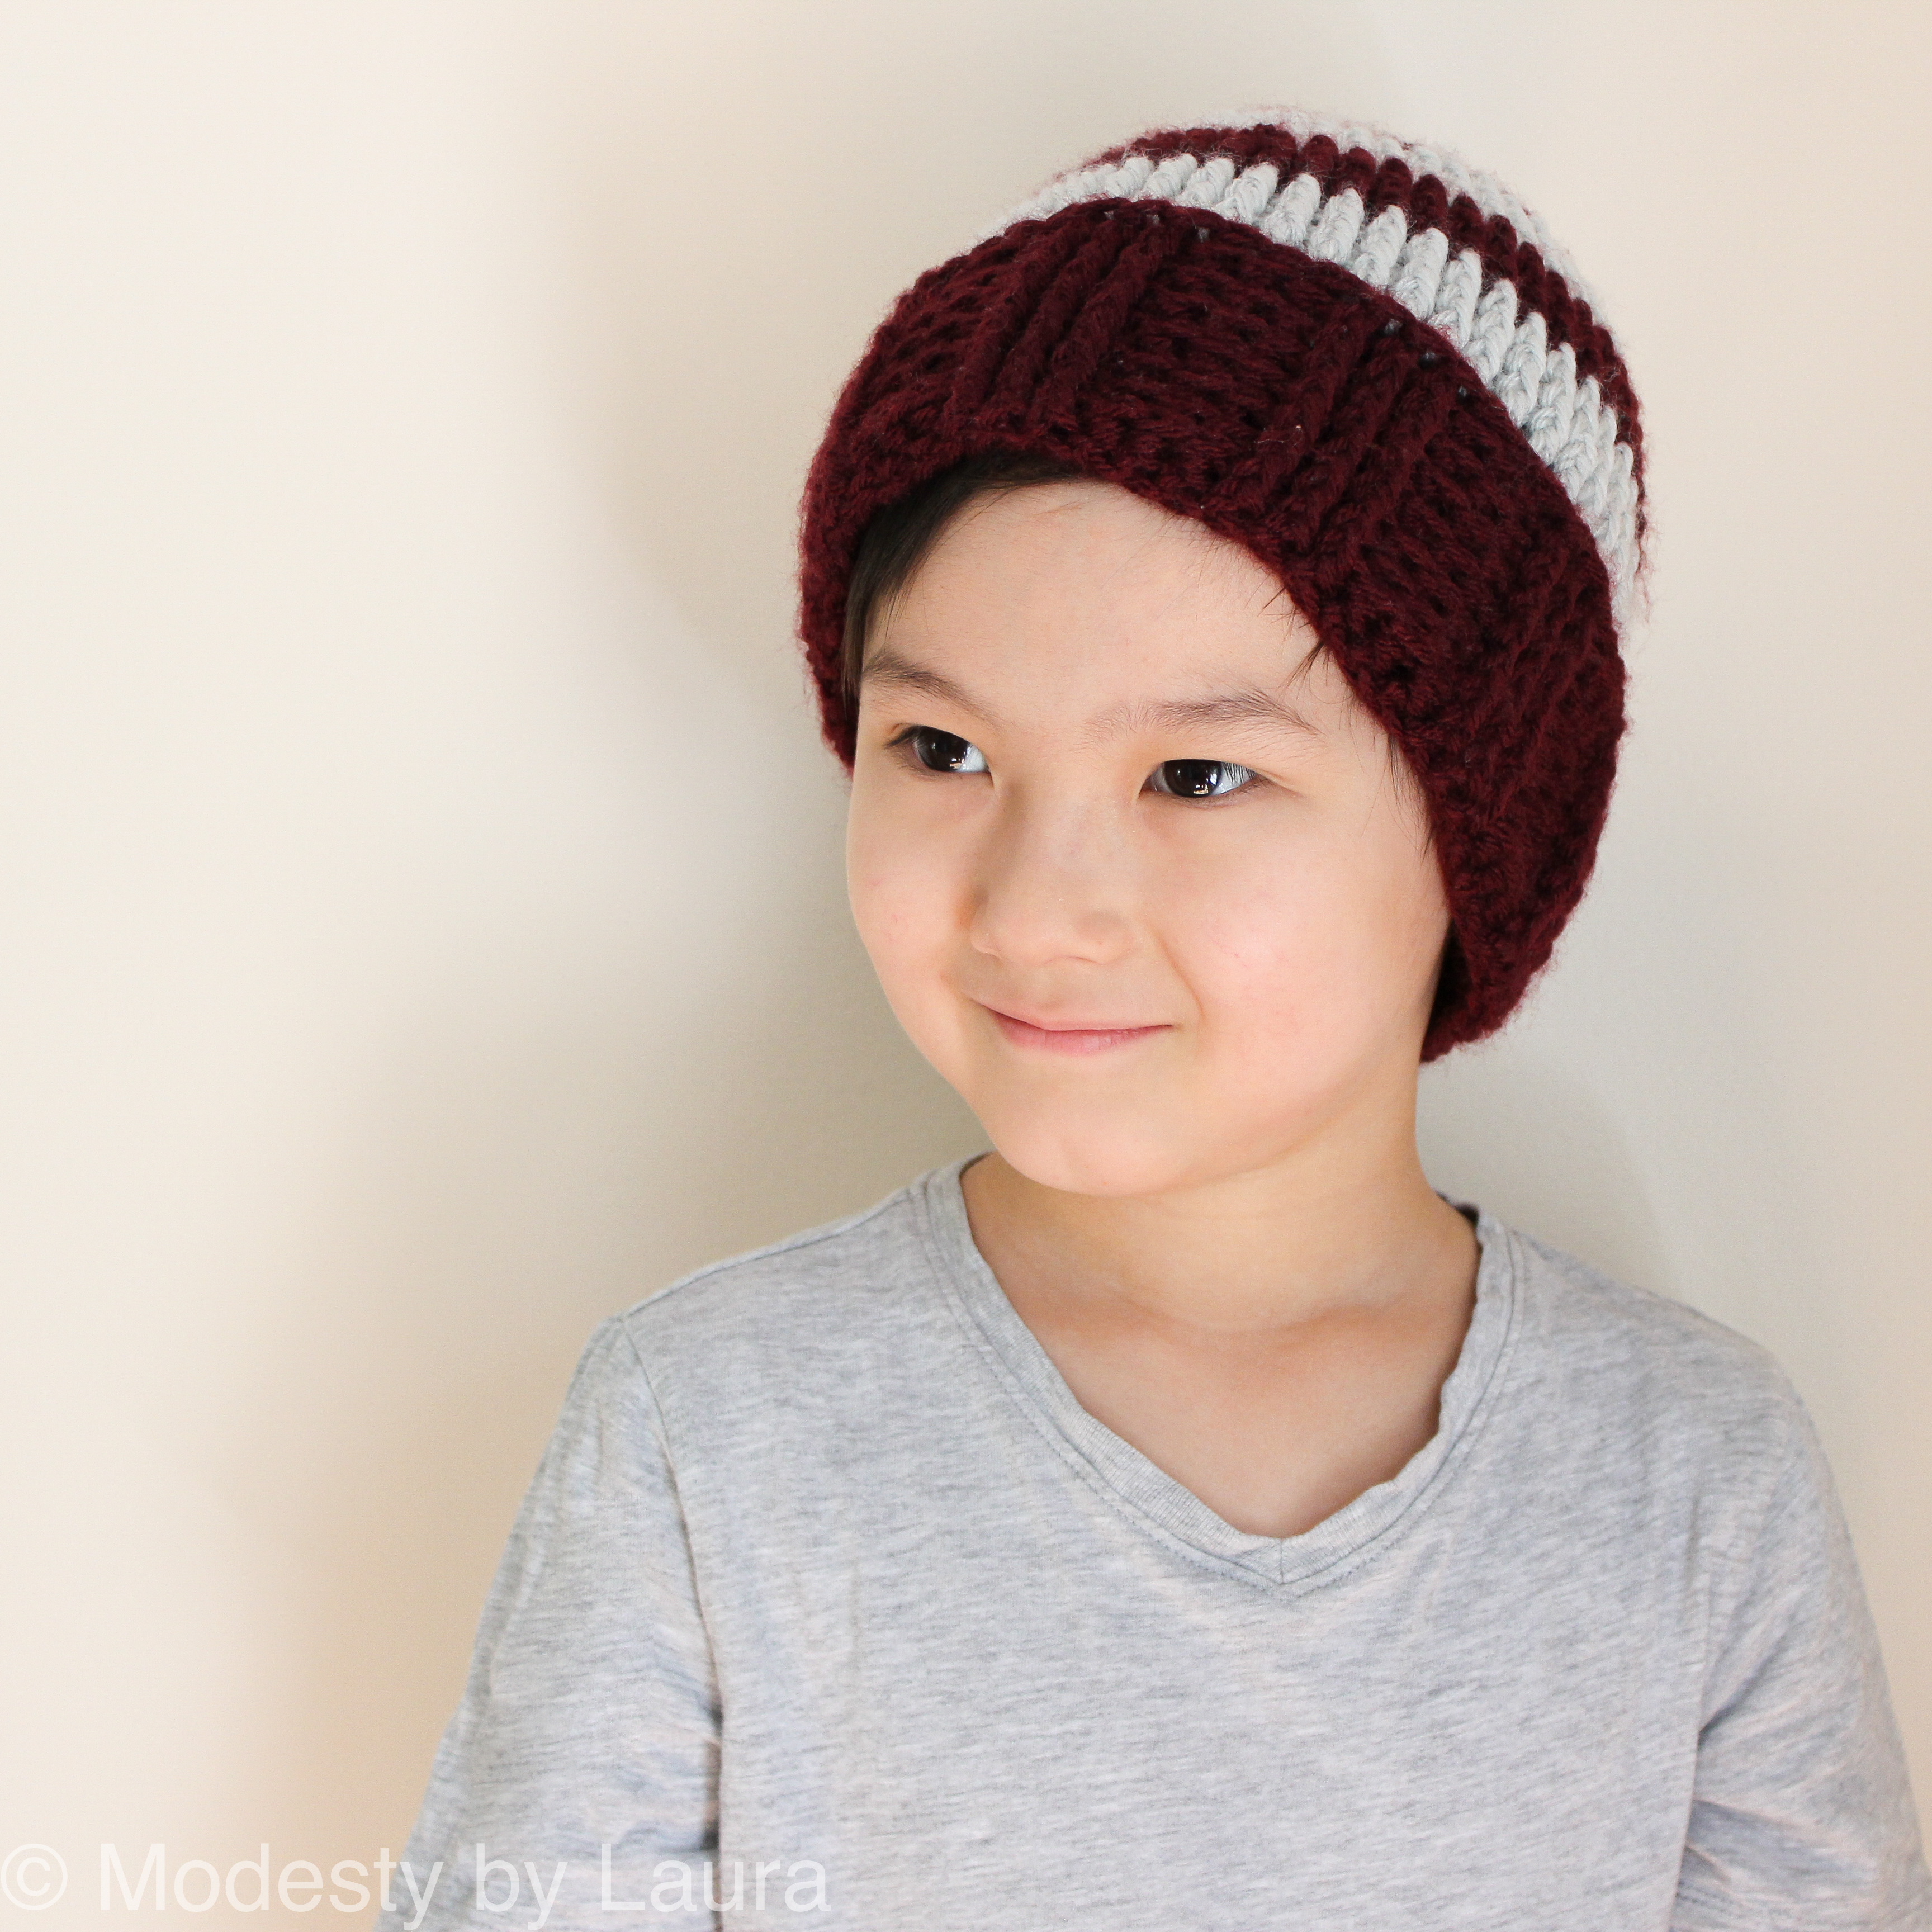
monarch beanie


The Monarch Beanie Crochet Pattern


The Monarch Beanie is a beginner-friendly crochet pattern using front and back post double crochets. The pattern is offered in both child and adult sizes. The hat offers loads of texture and will become a favorite winter accessory.


Shop Modesty by Laura

To purchase an inexpensive copy of this pattern, visit Etsy or Ravelry.


pinterest monarch beanie

To pin this pattern for later, visit Pinterest.

monarch beanie 1


The Pattern

The Monarch Beanie is worked up in a main and a contrasting color. It is worked from the bottom up and in the round making it an almost seamless project. A little seaming is required at the top of the hat. The hat is worked up with Lion Brand's Vanna's Choice but any worsted weight can be used to make this beanie.


This winter hat provides lots of texture starting from the ribbing at the base and textured front post double crochets in the body of the hat. This stitch gives it a very unique look.


Here is my youngest son enjoying the hat indoors. I've made beanies for my kids before but they really gravitated towards this particular hat.

Design Story

The Monarch Beanie was designed specifically for an event called the Crochet for a Cause which was hosted by Ashley of Edyth Blayn. The event was to crochet as many scarves and hats to give away to a local charity so that those in need could receive one. It was an amazing event and I feel blessed to have been a part of it.

End Remarks


Let's stay connected on Instagram and Facebook! Remember to tag me and use the hashtag #modestybylaura! 


I hope that everyone is well and pray that you stay safe and healthy during this time! Until next time, happy crafting!


XO, 

Laura


Modesty by Laura logo


This post may contain affiliate links. I am paid a small commission if you make a purchase through the links on my site. Thank you for supporting my blog in this way.

Honey Bee Scarf Crochet Pattern

Tuesday, May 12, 2020


The Honey Bee Scarf crochet pattern is a quick and beginner-friendly design that has the option of using one or two skeins of Lion Brand's Basic Stitch. With the help of open lacework, the scarf comes out with a nice drape.


It is a great winter accessory and this could easily be turned into a nice rectangle wrap by repeating the rows of this pattern. 


The yarn used for this scarf is by far my favorite yarn that they have come out with yet, at least the ones that I have tried.


The basic stitch yarn is a worsted weight that has 185 yards and anti-pilling, which is a plus in my book! They offer an array of color choices so I hope you can find a color that pleases you.


If you are wondering about the color choice I made for my Honey Bee Scarf, it is in Gold Heather. It has a mustard color mixed with some brown. 

Pattern

For an inexpensive ad-free version of this pattern, please visit Etsy or Ravelry.

To pin this pattern for later, visit Pinterest.


Materials Needed for This Pattern


-1 (or 2) skein of Lion Brand Basic Stitch
-6.5mm crochet hook
-stitch marker
-tapestry needle


One Skein Scarf


Two Skein Scarf


Gauge


10 sts and 12 rows equals 2 inches


Measurements


1 skein- 60” long, 4.5” wide
2 skein- 75” long, 6.5” wide


Let's stay connected on Instagram and Facebook! Remember to tag me and use #modestybylaura! Hope everyone is staying safe and healthy! Happy crocheting!

XO,


Laura


This post may contain affiliate links. I am paid a small commission if you make a purchase through the links on my site. Thank you for supporting my blog in this way.

K-Pop Mask Knit Pattern

Tuesday, March 24, 2020


Are you a K-Pop fan? Then you are in good company cause I am an OG (original) K-popper. I guess it helps that I'm also of Korean decent so my parents listened to Korean music and I just grew up listening to it.

If you have missed out on the original K-Pop Mask (crochet version), you can find it HERE. It is a black K-Pop mask with an optional bear motif made using acrylic yarn.

The K-Pop Mask in this blog post is a knit pattern with a heart motif. Taking those with sensitive skin into consideration, I decided to design this mask with Lion Brand's 24/7 Cotton yarn. The mask is more rigid with this yarn so if you decide to knit this one and don't necessarily have sensitive skin, you can choose to knit with a different yarn that's close to the given gauge for this pattern.

I want to note here before you decide to buy this premium pattern that the K-Pop Masks (crochet and knit) are in no way, shape or form able to protect you against the Coronavirus. IT WILL NOT PROTECT YOU FROM THE CORONAVIRUS. This mask is strictly a K-Pop fan mask. 

PATTERN

To purchase this pattern, please visit Etsy.
To pin this for later, visit Pinterest.


I'm not going to lie, I'm pretty late in the game with becoming a fan of BTS. I've always been more stuck with the older K-Pop groups and Eric Nam (of course). If you don't follow me on Instagram then you probably didn't see this photo: 


OR this one:


YES! I finally met my favorite K-Pop artist of all time last month and gave him a mostly Tunisian crochet blanket of his logo that I personally made for him. 

How did it feel to meet the K-Pop artist I admire the most? Pretty surreal! I had so much to say and so little time. I literally blanked out and tried to spat out most of the important things I wanted to tell him. But the one thing I forgot to tell him was my name! HAHAHA. Will he remember my face? I have no idea but I truly hope that he will.


In the comments below, let me know who your favorite K-Pop artist is! I would love to know!

Until next time, happy knitting!


XO, 


Laura


This post may contain affiliate links. I am paid a small commission if you make a purchase through the links on my site. Thank you for supporting my blog in this way.

Free Knit Pattern-- Feminine Sani Pouch

Friday, November 22, 2019


Need to find a way to be discreet when it’s that time of the month? This quick and easy pattern is the perfect pouch to keep your sanitary napkins out of sight.

I really love making practical things. This design was initiated because one of my children found my empty pouch and hid it. The one they hid was one that was made out of fabric and sewn. Unfortunately it's been years since I touched a sewing machine and I just don't have the time at this stage of my life to relearn. (Kids keep me way too busy.)

This pattern is a very quick one. Hope you enjoy it!

Pattern

For an inexpensive ad-free PDF version, please visit Etsy or Ravelry

To pin this for later, visit Pinterest.


Materials

-1 skeins of Lion Brands Comfy Cotton Blend
-5.5mm (circular) knitting needles
-5.5mm crochet hook
-stitch markers
-tapestry needle

Abbreviations

sts-stitches

Gauge

9 sts and 9 rows = 2 inches

Measurements

Pouch approximately 4.25” length (not including flap) by 4.5” wide

Due to the nature of knitting, measurements can vary as pieces can be stretched. 

Pouch

Cast on 22

Row 1: knit 

Row 2: purl

Row 3-50: repeat row 1 and 2

Row 51: bind off the first two sts (knitwise), knit until you have 2 sts left, bind off (knitwise)

Row 52: bind off the first two sts (purlwise), purl until you have 2sts left, bind off the last 2 sts

Row 53-54: repeat row 51 and 52

Row 55: bind off 7 sts (which brings you to the center)

Take a 5.5mm crochet hook and chain 4.


Slip the last chain onto the left needle to continue binding off your work, bind off to the end. Fasten off and weave in your ends.

Count up 43 rows from the bottom and use a stitch marker on either ends of pouch panel piece.

Fold up from the bottom to row 43 with the right side facing out. Mattress stitch down the sides of the panel starting from the stitch markers. Weave in your ends

Ribbon

Cast on 8.

Row 1-14: knit

BO knitwise


Take some yarn and leaving a tail start winding the yarn around the center of the ribbon panel. Wind the yarn as much to your liking and tie off the end with the tail that you left from the beginning. You will take the tails to secure it to the pouch.

Center your ribbon in the middle of the pouch. The ribbon will act as a “button” so that you can use the loop on the flap of the pouch to close it.


Let's keep in touch. Connect with me on my socials. See you there!


Happy crocheting!


XO,


Laura


This post may contain affiliate links. I am paid a small commission if you make a purchase through the links on my site. Thank you for supporting my blog in this way.